3D printing has opened up the doors to custom accessories and replacement parts that were previously inaccessible or expensive. One of the more popular items being printed today is a protective or customized lid for the AirPods Pro 2 case. However, due to the small size, tight tolerances, and need for a polished finish, printing a high-quality AirPods Pro 2 case lid requires some specific settings and considerations. In this article, we’ll explore the best slicing, material, and hardware settings for achieving excellent results.
Material Selection Matters
The first decision that affects the quality of your lid is the filament material. Not all plastics are created equal, especially for something that needs to be both durable and aesthetically pleasing. The most recommended options include:
- PLA+ (Polylactic Acid Plus): Easy to print, great for beginners, non-flexible, and comes in a wide variety of colors.
- PETG (Polyethylene Terephthalate Glycol): Slightly more flexible than PLA, more temperature-resistant, and durable.
- TPU (Thermoplastic Polyurethane): If you’re looking for a flexible, rubbery lid, though more difficult to print with precision.
Recommendation: For most users, PLA+ strikes the best balance between ease of use and finished appearance.
Layer Height and Resolution
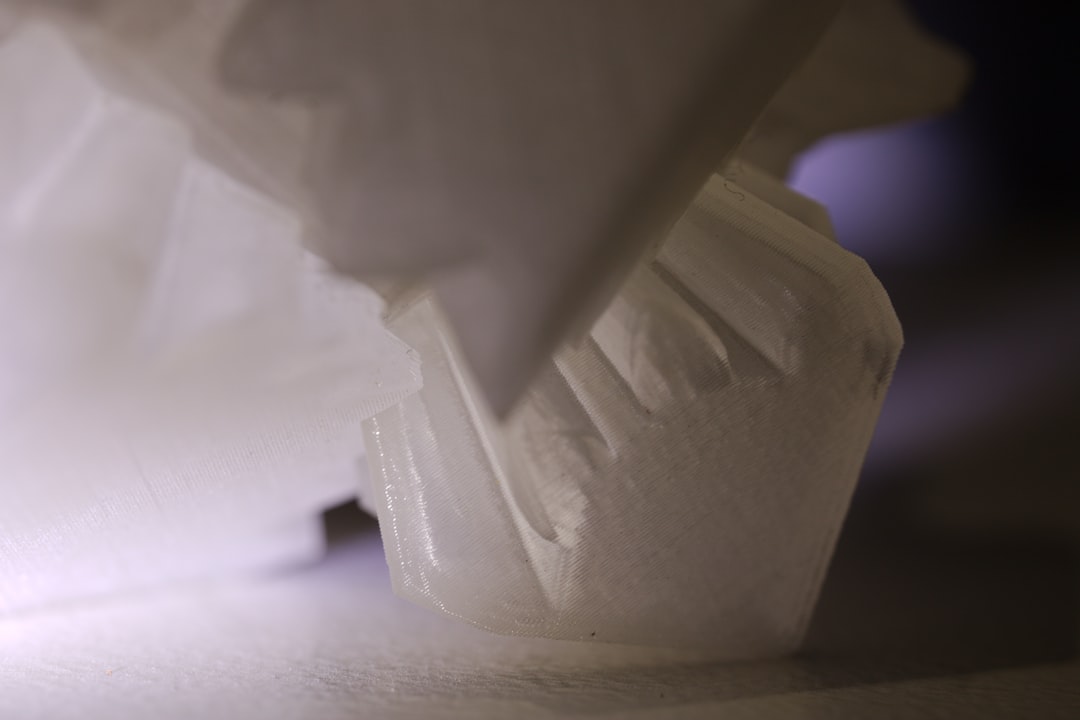
To capture the fine detailing and curvature of the AirPods Pro 2 lid design, you’ll want a higher resolution print setting. Most slicers define quality via layer height, so consider the following:
- Layer height: 0.1 mm (for high detail)
- Wall thickness: At least 1.2 mm (3-4 perimeter lines)
- Top layers: 6 or more to ensure solid coverage
While these settings may increase print time, they ensure a smoother finish which is essential for wearables and small electronics accessories.

Print Speed and Temperature
Speed and temperature are critical factors in ensuring a smooth surface and strong bonding between layers. Here’s what we suggest for popular materials:
For PLA+:
- Print temp: 200-210°C
- Bed temp: 60°C
- Speed: 40-50 mm/s
For PETG:
- Print temp: 235-250°C
- Bed temp: 75-85°C
- Speed: 30-40 mm/s
Slower printing allows for tighter control of curves, especially since the lid shape usually involves complex geometry around the hinge area.
Supports and Orientation
Perhaps the trickiest part of printing a lid is achieving accurate hinge detail without sacrificing surface quality.
Best orientation: Print the lid upside down. This way, the outward-facing top gets the best finish, and the hinge recesses get supported properly.
Support settings:
- Support type: Touching build plate only
- Support density: 10-15%
- Support Z distance: 0.2 mm for easy removal
Also, enable support interface layers to create a clean layer between the print and the support, reducing post-processing time.
Infill and Shell Settings
The lid needs to be robust but not solid. Too much infill is overkill and will unnecessarily extend print time.
- Infill density: 20-30%
- Infill pattern: Gyroid or Grid for structural integrity
- Line width: Match the nozzle size, typically 0.4 mm
Post-Processing Tips
To give your AirPods Pro 2 lid a professional look, consider some light post-processing techniques:
- Sanding: Start with 220 grit and work up to 1000 grit for a smooth finish
- Polishing: Use plastic polish or a mild abrasive compound
- Painting: Use a primer first, then a plastic-compatible color of your choice

Final Thoughts
Printing an AirPods Pro 2 case lid is a great combination of creative customization and functional manufacturing. By dialing in the right print settings, you can create a snug-fitting, stylish, and durable lid that rivals commercial products. Whether you’re replacing a lost lid or making a personalized design, attention to detail in preparation and printing will make all the difference.
Remember: Always double-check your dimensions with calipers, especially if designing your own model. And if your printer allows it, enable retraction and cooling settings to reduce stringing and improve sharp corners.
