If you’ve ever explored the AI art space, you might be aware that it’s now possible to generate avatar images using your likeness across a group of styles. I’m here to walk you through the steps on how I managed to create a series of personalized images using an open-source and free-to-use AI.
Stick around as I demonstrate step by step how I transformed 20 of my photos into a diverse array of AI-generated artworks.
What is Dreambooth AI?
Dreambooth AI is a platform that uses artificial intelligence (AI) to generate images based on provided photos. It’s an open-source and free-to-use tool that allows users to transform their own photos into AI Avatars.
Dreambooth AI operates through a Google Colab link, running code that accesses Google’s GPUs to create AI-generated images, even for users without high-end GPU capabilities.
Users can upload their photos, train the AI data, and generate personalized images using various prompts and settings, making it an exciting tool for creating AI-generated avatars and artwork.
How to Generate AI Avatar using Dreambooth AI?
Taking the Photos:
The first step involves capturing the right set of photos. With a modern smartphone, ensure your capture settings align with a 1:1 aspect ratio.
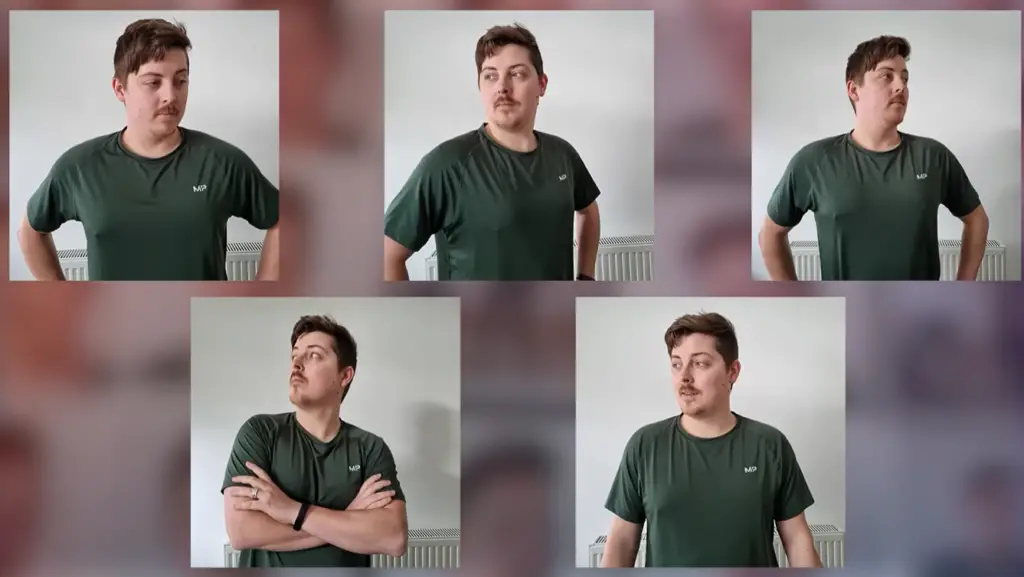
Aim for three full-body shots, five images from chest to head, and twelve close-ups of your face. While capturing these, vary your expressions and angles but maintain even lighting without strong shadows.

You’ll need around 20 photos of yourself. Ensure you capture various angles, emotions, and distances:
- 3 full-body shots
- 5 from your chest to the top of your head
- 12 close-ups of your face
- Try different facial expressions to add variety
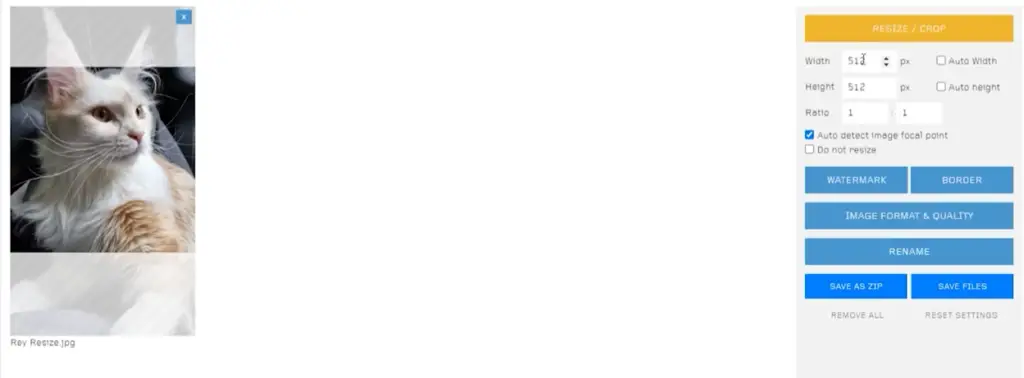
Resizing the Photos:
Once you’ve got your photos, it’s essential to resize them to 512 by 512 pixels. While Photoshop works, an easier method is using the provided link for resizing images within a browser.
Dreambooth Google Colab:
Now, it’s time to dive into the Dreambooth Google Colab link, which might seem complex but is actually user-friendly.
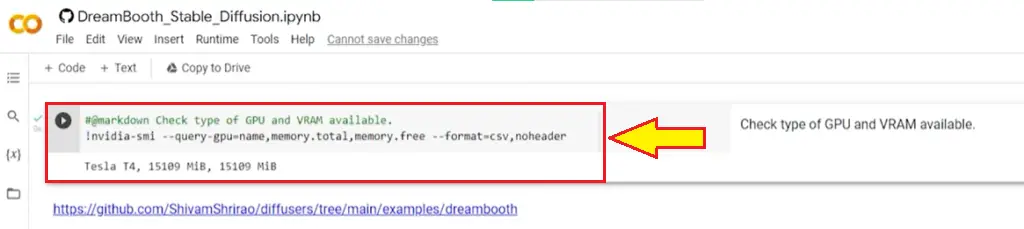
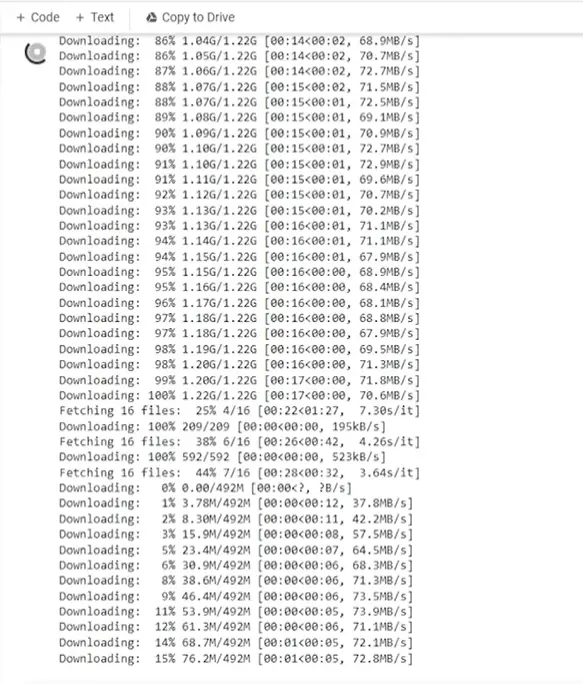
Follow the instructions in the Colab doc, activate the nodes, and run the code. This platform runs code using Google’s GPUs, enabling image generation even without a high-end GPU.
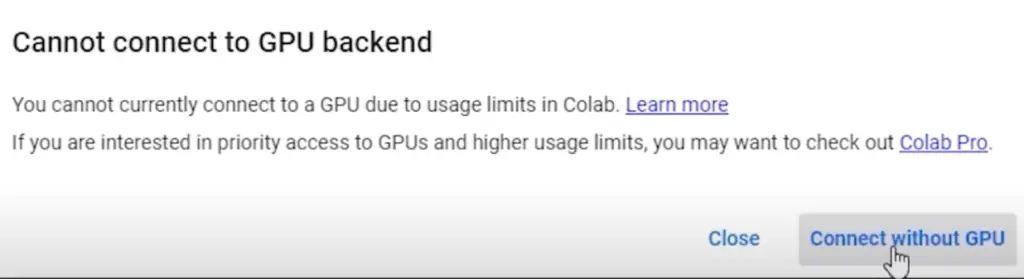
- Running the code may sometimes result in warnings, particularly if you’re not a paid member. There are workarounds like using a different email or paying for access.
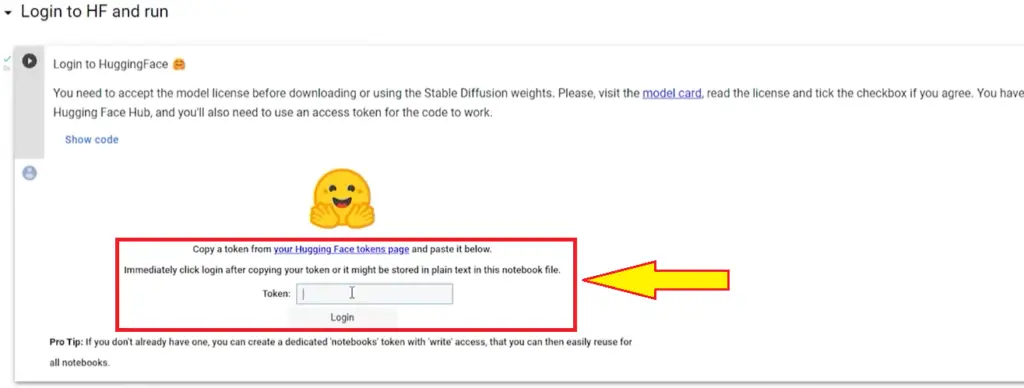
- Following the instructions step-by-step, install the required elements and set up a Hugging Face account to generate access tokens.
Click on the play button and install the requirements.
Hugging Face Account Setup:
To integrate Dreambooth with Hugging Face, you’ll need to set up an account. It’s a straightforward process:
- Go to Hugginface.co
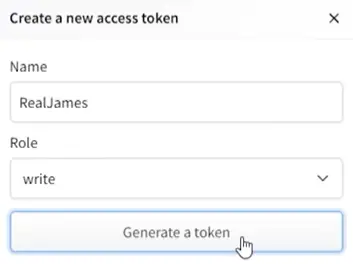
- After creating an account on Hugginface, go to your profile and click on Tokens. Now generate an access token. Copy the Token.
- Paste this token into the Google Colab to establish the connection.
Now again Go back to the Google Colab Notebook.
Dreambooth Continued:
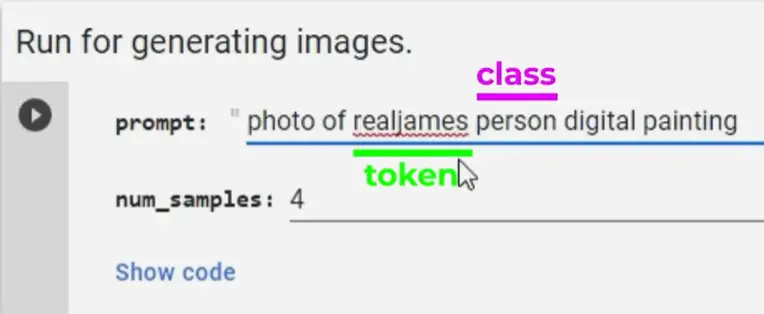
This node involves tweaking settings and specifying prompts, such as class names (“person,” “woman,” or “man”), to train AI data based on the images you’ve provided.
- Name your input folder containing the resized images.
- Specify the class name (e.g., person, woman, man) for better results.
- Save all training data and models to your Google Drive.
Start Training:
This step requires a bit of patience. Training the data requires adjusting settings like class names and training steps.
It’s a time-consuming process, taking between half an hour to an hour, where you should avoid leaving the page to prevent data loss.
- Ensure your prompts align with your desired output.
- Run the node and wait for the training process to complete.
Generating Avatars:
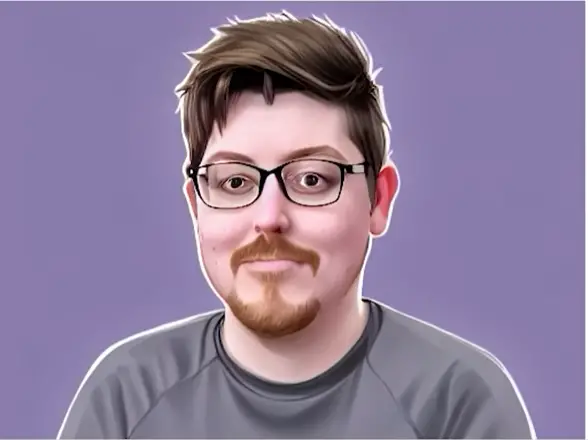
Finally, the exciting part – generating images! Input prompts, run the nodes, and generate AI artwork.
Experimenting with different prompts, using Lexicon for new ideas, and tweaking the guidance scale can refine the generated images.
Note:
- Input prompts and class names to generate images that resonate with your preferences.
- Experiment with Lexicon for interesting prompts and styles.
- Tweak the guidance scale for more abstract or detailed results.
Conclusion
That sums up the comprehensive process of using Dreambooth for AI-generated avatars. If you found this guide helpful, check out my other beginner-friendly AI art tutorials. If you want to train different models or redo the process, simply reset using the runtime tab and start afresh.