
In today’s tutorial, we’re going to walk you through the process of loading the Safetensors Stable Diffusion model in Google Colab.
How to use Safetensors Stable Diffusion?
Step 1: Access Google Colab
First, let’s get started with Google Colab. If you’re not already familiar with it, Google Colab is a cloud-based platform that allows you to run Python code using Google Drive.
Here’s how you can access it:
- Open your web browser and navigate to Google Colab.
- Click on the “Sign In” button, and if prompted, enter your Google credentials.
Step 2: Download the Model File
Before we can start using the Safetensors Stable Diffusion model, we need to get the necessary model file.
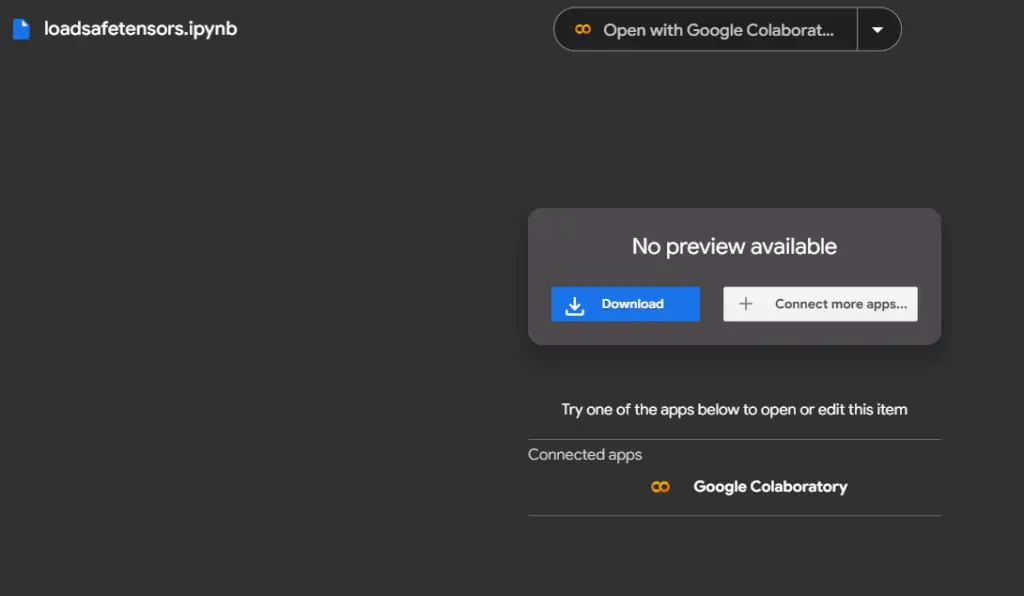
You can find it at the following link: loadsafetensors.ipynb
Once you’ve clicked the link, the model file will download to your computer.
Make sure you remember where you saved it because we’ll need to upload it to Google Colab.
Step 3: Upload the Model File to Google Colab
Now that we have the model file, let’s upload it to Google Colab.
Here’s how:
- In your Google Colab workspace, click the “Upload” button.
- Locate the model file on your computer and select it for upload.
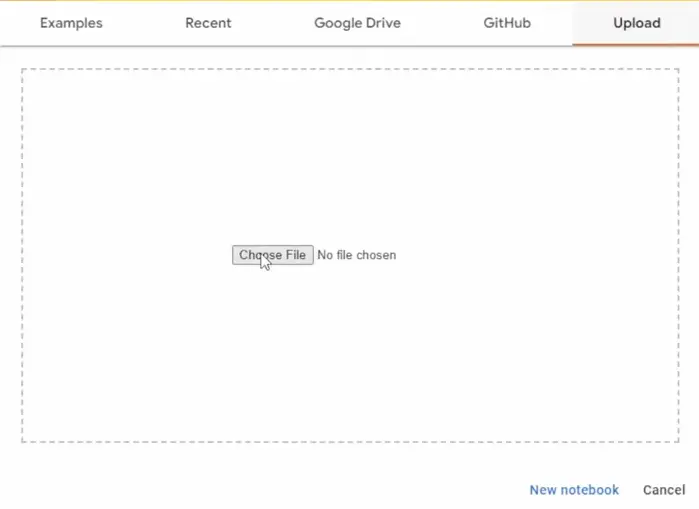
Once the upload is complete, you’ll have the model file ready for use in Google Colab.
Step 4: Choose Your Loading Method
You have two options for loading the Safetensors Stable Diffusion model in Google Colab.
You can either use the model code directly or load it from Google Drive.
Let’s explore both methods:
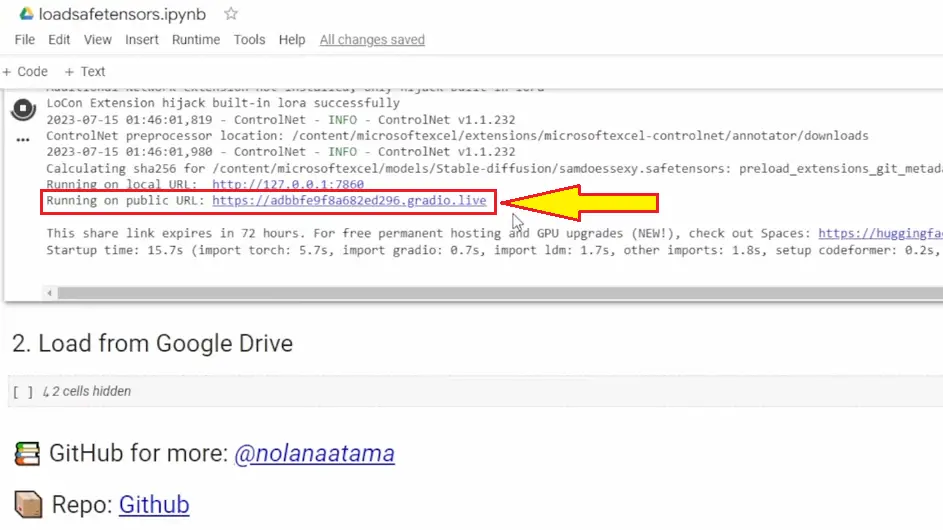
Option 1: Using Model Code
- Run the cell that contains the code to load the model.
- Scroll down to monitor the progress.
Once the process is complete, you’ll receive a public URL for further usage.
Option 2: Loading from Google Drive
- Click on the cell that loads the model from Google Drive.
- Follow the on-screen instructions to connect your Google Drive.
- The file will run, and you should wait for it to complete.
After the process finishes, you’ll also get a public URL for further interaction.
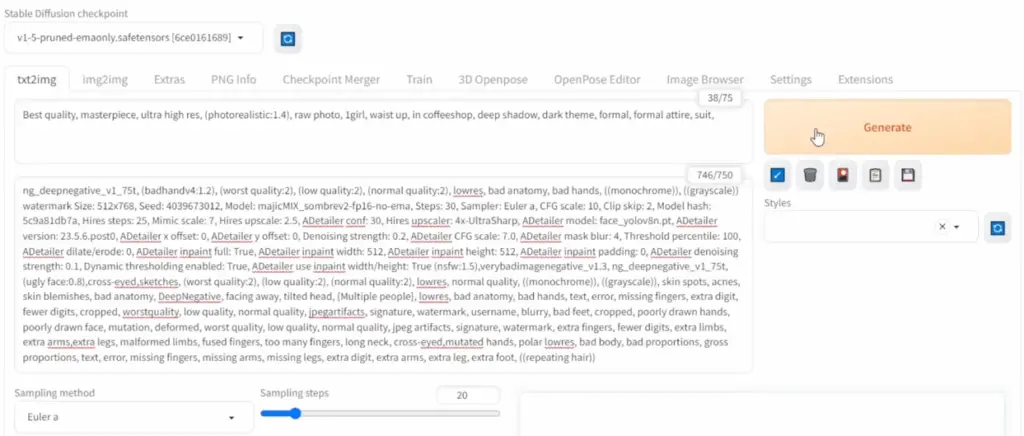
Step 5: Generating Images
Now that the model is loaded, let’s try generating some images using text prompts.
This is where the fun begins! Here’s what you need to do:
- Copy and paste your text prompts and negative prompts into the designated areas.
- Adjust the settings, such as the number of images and the width.
Step 6: Preview the Results
With your prompts set and parameters adjusted, it’s time to generate images. Click the button and let the magic happen.
After a short wait, you’ll see the generated images on your screen.
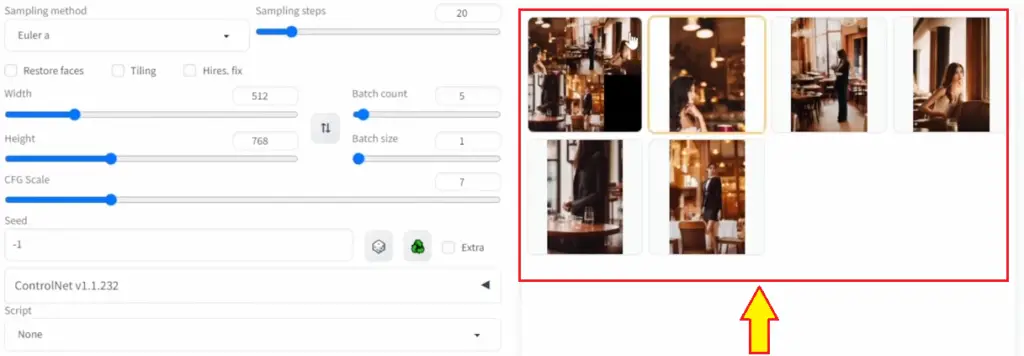
Step 7: Explore Your Masterpieces
Once the images are generated, take some time to explore your creations. You can view and analyze each one to appreciate the model’s capabilities fully.
Conclusion
You’ve successfully learned how to load and use the Safetensors Stable Diffusion model in Google Colab.
We hope you enjoyed this tutorial and found it helpful. Now you can experiment with AI-powered image generation and create your own masterpieces.