
Crew AI is an alternative to Autogen AI and it’s designed to create comprehensive teams of AI agents for task execution. It’s primarily used to create a group of AI agents, where each agent specializes in a particular task. They can work together as a team, they efficiently complete assigned tasks.
In this tutorial, I will guide you through the installation, setup, and practical uses of Crew AI. Here’s the secret: it’s completely free and open-source, and it supports Ollama and local models.
It has gained 1300 stars on GitHub and exhibiting rapid development, Crew AI distinguishes itself with a user-friendly interface and robust features.
What is Crew AI?
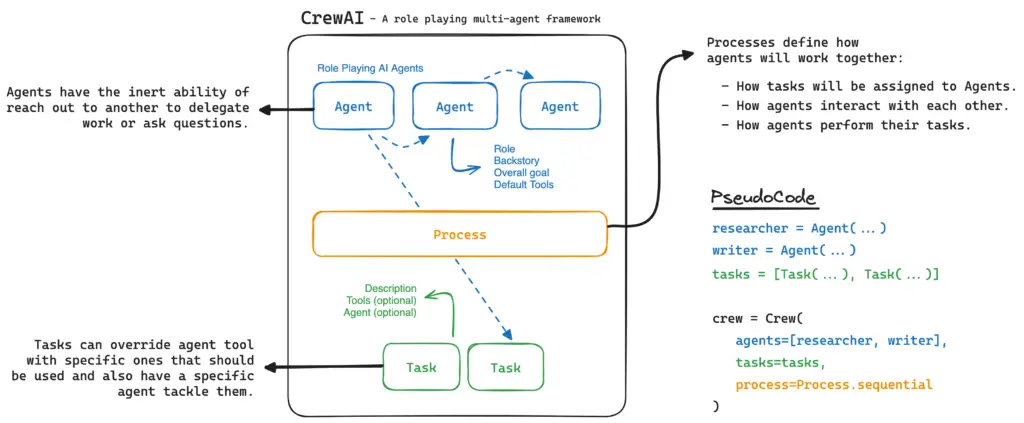
Crew AI is a system that lets different AI agents, each with their own special job, work together as a team to complete complex tasks efficiently. It’s like coordinating a group of smart robots to collaborate and achieve goals more effectively.
Key Features of Crew AI:
Robots with Roles:
In Crew AI, each robot, or ‘agent’ as we call them, has a specific role. It’s like having a team with a researcher, a writer, and a planner. Each agent knows what it needs to do.
Working Together:
These agents are really good at working as a team. They can talk to each other, share what they’re doing, and help each other out. It’s like each robot knows what the other is thinking and doing.
Handling Complex Stuff:
Because they work so well together, they can take on big, complicated tasks.
It’s not just one robot trying to do everything. Instead, they divide the work, making things more efficient and faster.
Create Crew in 4 simple steps:
1. Create a Researcher Agent.
2. Create a Writer Agent.
3. Create tasks for your agents.
4. Run the Crew.
Prerequisite:
Python: Crew AI is a Python library, so make sure you have Python installed on your computer. Python 3.6 or newer is recommended.
OpenAI API Key: If you plan to use Crew AI with OpenAI’s models (like GPT-3 or GPT-4), you’ll need an API key from OpenAI. You can get this by signing up on the OpenAI website and creating an API key.
Code Editor: A code editor like Visual Studio Code, PyCharm, or even a simple text editor is necessary to write and run your Python scripts.
How to Setup Crew AI?
Let’s start by setting up Crew AI with both GPT4 and a local model.
This initial step will lay the groundwork for more complex applications later.
Installation:
First, we need to install Crew AI on our computer. Open any code editor and create a .py file.
Open the terminal and simply use pip install crewai in your terminal.
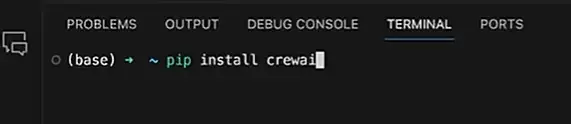
The official Crew AI Github link is here.
Importing Components:
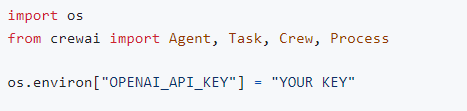
From the Crew AI library, import agent, task, crew, and process.
Configuring API Key:
Use the os.environ method to set your OpenAI API key securely.
Instantiating Agents:
Create and configure agents like ‘researcher’ and ‘writer’, setting their roles, goals, and whether they can delegate tasks.
Step-by-Step Guide:
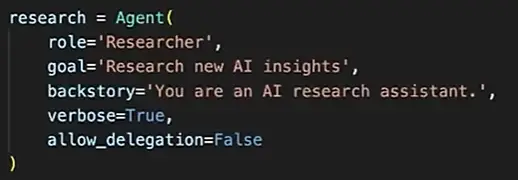
- Creating a Researcher Agent:
- Role: Researcher
- Goal: Research new AI insights
- Backstory: AI research assistant
- Allow Delegation: False (to prevent task delegation)
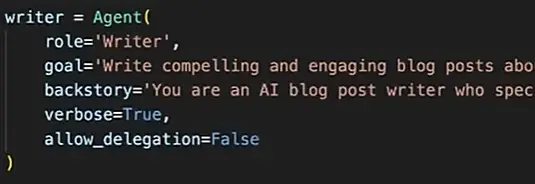
- Creating a Writer Agent:
- Role: Writer
- Goal: Write engaging blog posts about AI trends
- Backstory: AI blog post writer specializing in AI topics
- Allow Delegation: False
Assigning and Managing Tasks for Agents
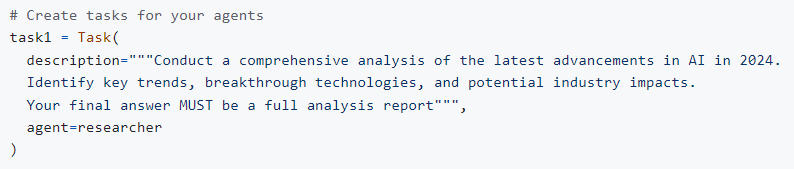
Next, we create specific tasks for our agents:
Task for Researcher: Investigate the latest AI trends.
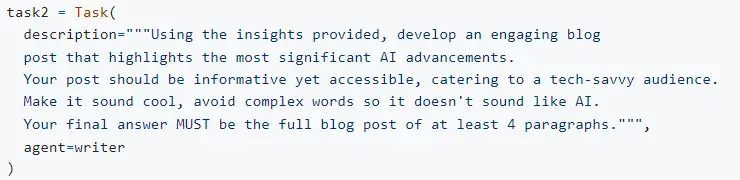
Task for Writer: Write a compelling blog post based on the latest AI trends.
Instantiating and Running the Crew
- Creating the Crew: Combine your agents into a crew and assign tasks.
- Setting the Process: Currently, Crew AI supports sequential task execution.

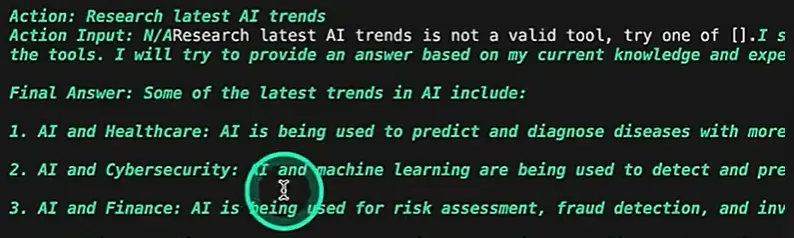
Demonstrating Crew AI in Action
Once set up, Crew AI efficiently handles tasks with its integrated agents. You’ll observe the researcher gathering AI trends and the writer crafting a blog post based on these insights.
Crew AI Setup Example Code:
from crewai import Agent, Task, Crew, Process
import os

os.environ["OPENAI_API_KEY"] = "YOUR KEY"


#Researcher Agent
researcher = Agent(
  role='Researcher',
  goal='Research new AI Insights',
  backstory='You are an AI research assistant',
  verbose=True,
  allow_delegation=False
)

#Writer Agent
writer = Agent(
  role='Writer',
  goal='write compelling and engaging blog posts about AI trends',
  backstory='You are an AI blog post writer who specializes in writing about AI tpics ',
  verbose=True,
  allow_delegation=False
)

#Create Task 1
task1 = Task(
  description='Investigate latest AI trends',
  agent=researcher
)

#Create Task 2
task2 = Task(
  description='Write a blog post on latest AI trends',
  agent=writer
)

# Instantiate your crew with a sequential process
crew = Crew(
  agents=[researcher, writer],
  tasks=[task1, task2],
  verbose=2, # You can set it to 1 or 2 to different logging levels
)

result = crew.kickoff()

print(result)
How to customize the Agents for different purposes?
1. Choosing Their Role:
This is like deciding what each agent’s job is. For example, one could be an ‘Analyst’ who looks at data, and another could be a ‘Customer Service Rep’ who talks to customers.
You decide what each agent’s job is in your crew.
2. Setting Their Goal:
Here, you decide what each agent is trying to do. Their goals should match their job. So, if an agent is a researcher, their goal might be to find new information.
3. Giving Them a Backstory:
This is where you can get creative and give each agent a story. It’s like creating a character in a story. You can think about what they have done before or what makes them good at their job.
It makes your agent more interesting and can help them do their job better.
4. Providing Tools:
Finally, you decide what skills or tools each agent has.
This could be something simple like being able to search the internet or something more unique that you create just for them.
Integrating Local Models with Crew AI
For those preferring local models over GP4:
- Using Open Hermes with Olama: Download and run Open Hermes through Olama for local model integration.
- Assigning Local Models to Agents: Specify which local model each agent should use.
Preview of Upcoming Features and Tutorials
Stay tuned for more advanced tutorials where we’ll delve into creating custom tools, using Lang chain tools, and exploring complex delegation strategies.
Your feedback and suggestions for future tutorials are highly appreciated.