If you’re an active social media user, you’ve probably come across the latest AI trend – generating yearbook photos of yourself or even celebrities. Most of the available apps for this task come with a price tag. But what if I told you that you can do this for free?
In this step-by-step guide, I’ll show you how to create unlimited AI yearbook photos using Stable Diffusion, ROOP, and the LoRa model.
Prerequisites to create yearbook photos
Before we dive into creating your yearbook photos, there are a few prerequisites you need to take care of. We’ll be using ROOP, which requires some setup.
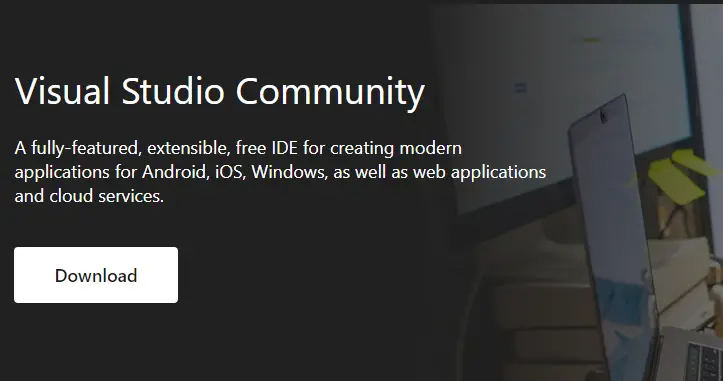
Download Visual Studio Community:
After downloading, open Visual Studio Community.
Select the following components during installation: Python development, Desktop development with C++, and Visual Studio extension development.
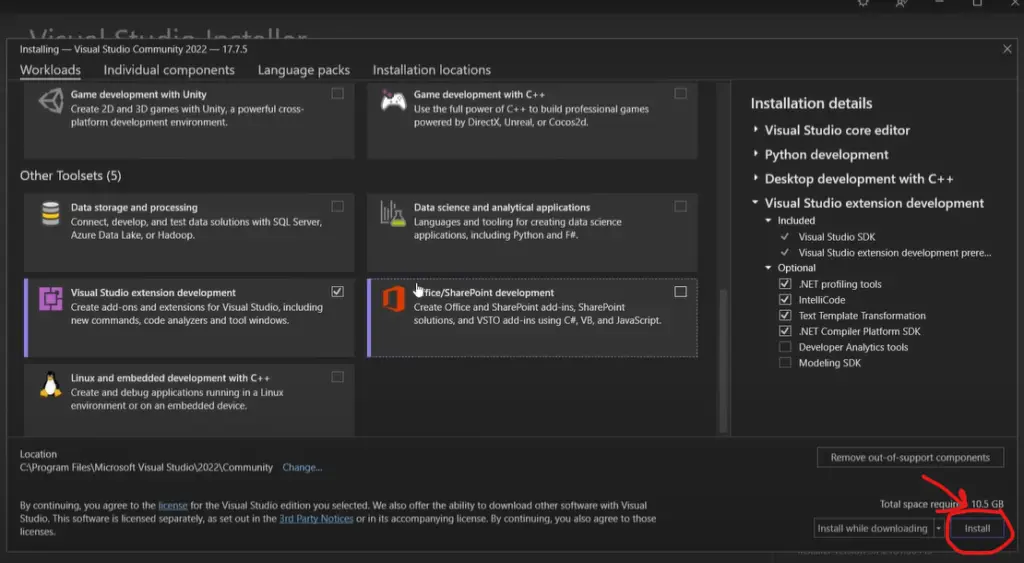
Click “Install” and wait for the installation to complete.
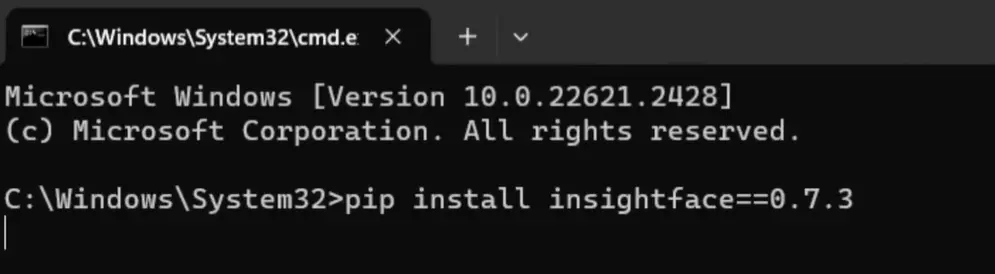
Open a command prompt terminal and execute the provided command (linked in the description).
Now open the command prompt terminal and type in the command provided: pip install insightface==0.7.3
These steps ensure that you have the necessary tools to run ROOP and create your yearbook photos.
Installing ROOP
With the prerequisites in place, let’s install RP (Reference Photo) for Stable Diffusion. Here’s how:
Open Stable Diffusion.
Navigate to the Extensions menu.
Click on the Available tab.
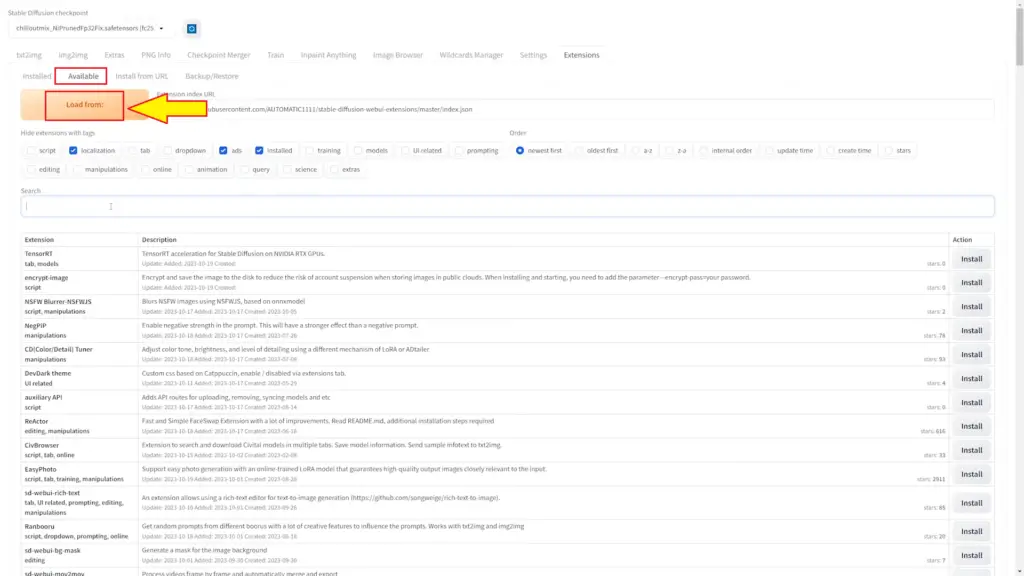
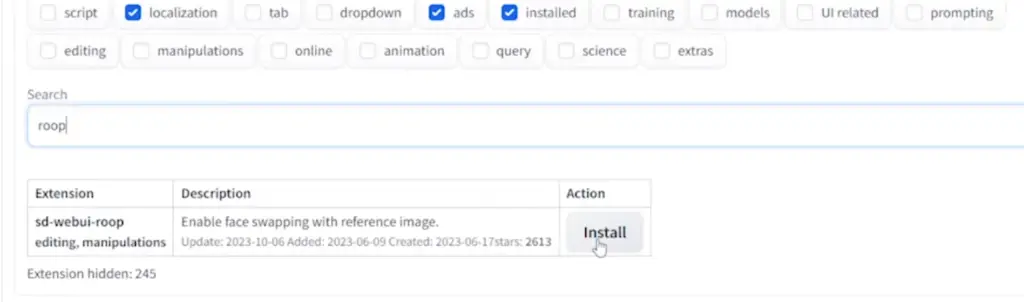
Search for “ROOP” in the search bar.
Install the ROOP extension.
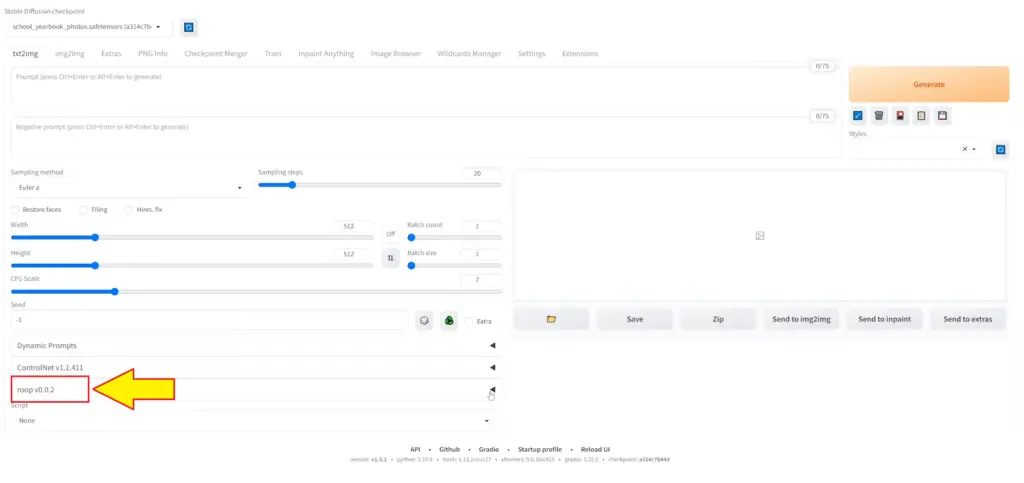
Once the installation is complete, return to the Installed tab, click “Check for updates,” and apply the updates as needed.
Now, you should have ROOP version 0.0.2 (or a later version if available).
Installing LoRA Model
To create yearbook photos, we’ll need the Laura model. Follow these steps to install it:
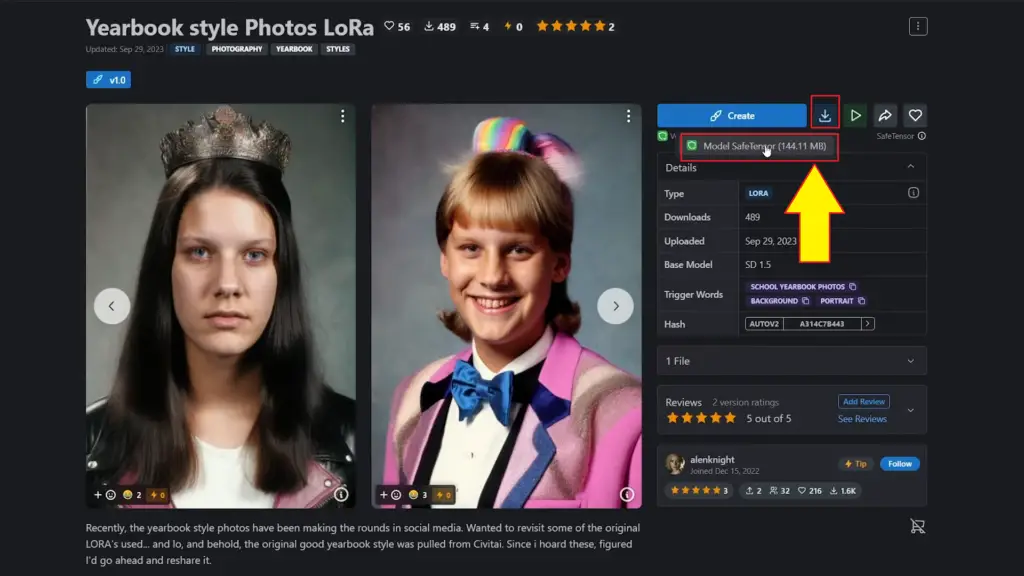
- Download the LoRA model from the link here.
- Click on the “download” button and select the “model safe tensor” option.
- After downloading, drag the Laura model into your Stable Diffusion models folder.
- Refresh your models in Stable Diffusion.
Now, you should see the LoRA model in your list of available models. You’re almost ready to create your yearbook photos.
Using ROOP for Yearbook Photos:
Now that you have everything set up let’s use RP to create your yearbook photos. Follow these steps:
Open ROOP in Stable Diffusion.
Add a reference image. You can use any image, but it’s best to choose one where the face is relatively unobscured.
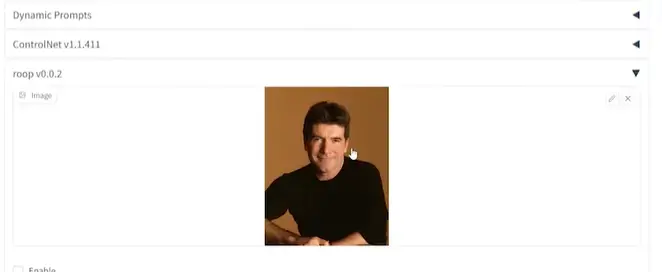
Enable ROOP by checking the box.
Leave the default settings as they are (you can explore them in more detail later).
Add any additional details you want, such as hairstyle, clothing, or background.
Here’s an important step: Copy and paste the command provided into your prompt: <lora:school_yearbook_photos:1>. This step helps ROOP reference the LoRA model effectively.
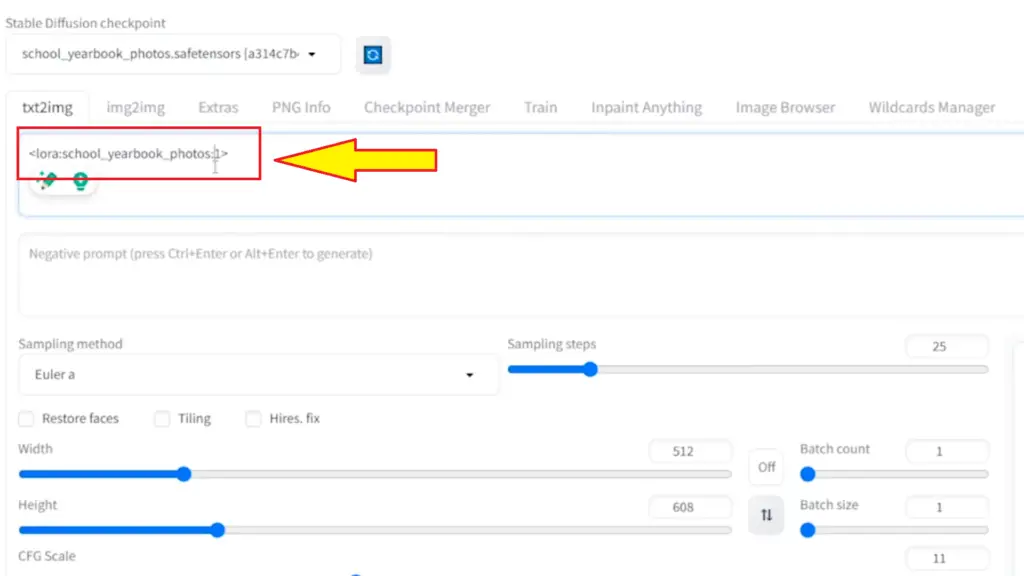
Click “Generate” to create your yearbook photo.
Customizing Your Yearbook Photos
ROOP primarily focuses on faces, so for other aspects like clothing or background, you’ll need to provide more detailed prompts to get the desired results. The more details you provide, the better the outcome.
Let’s see how it works with a few examples:
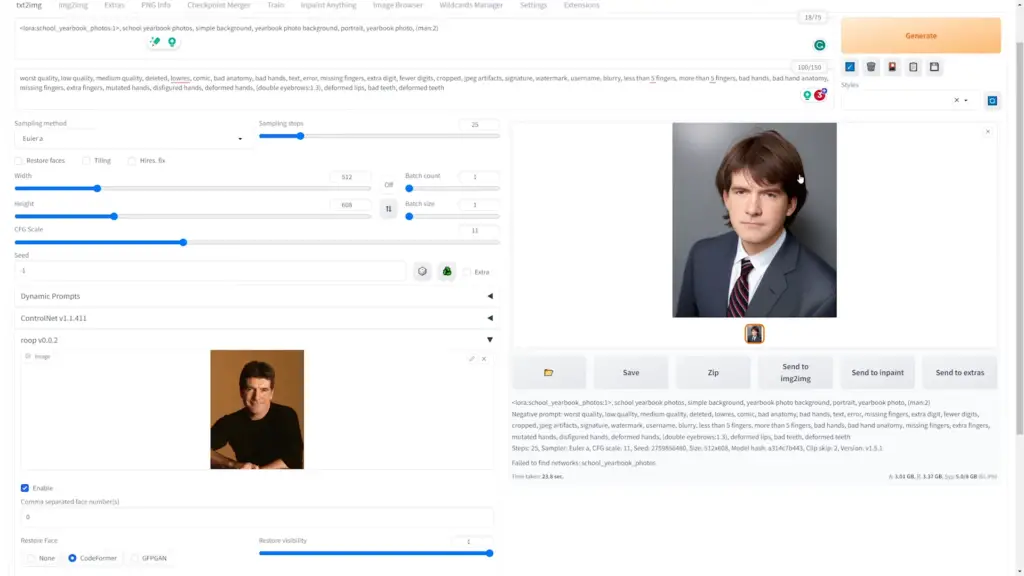
1. Simon Cowell
- Simon Cowell’s face is the reference image.
- The generated image will match the prompts you provide, such as hairstyle, clothing, and background.
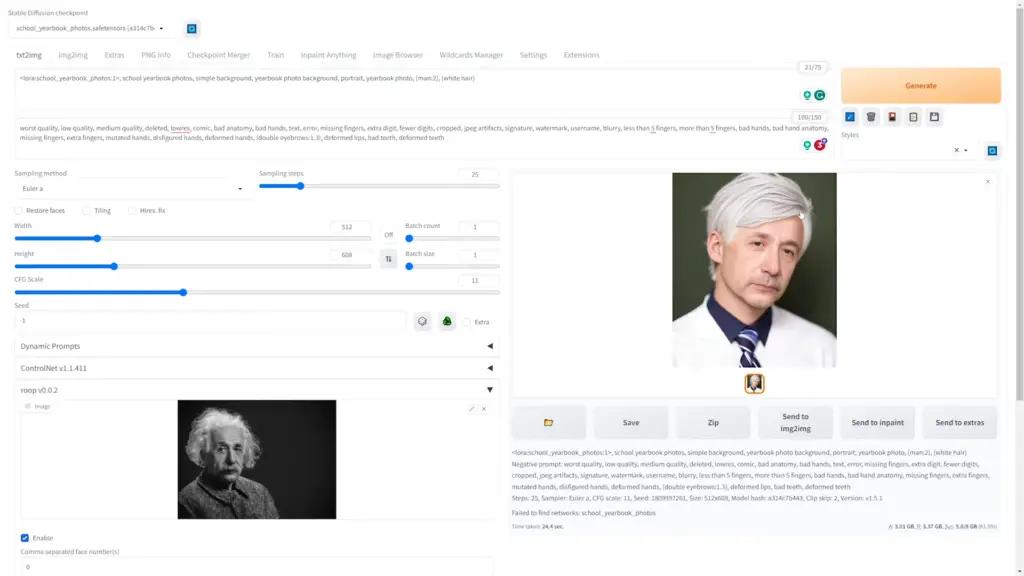
2. Albert Einstein
- Use a younger image of Albert Einstein for a more realistic yearbook photo.
- Be mindful of image quality; a low-resolution image might affect the output.
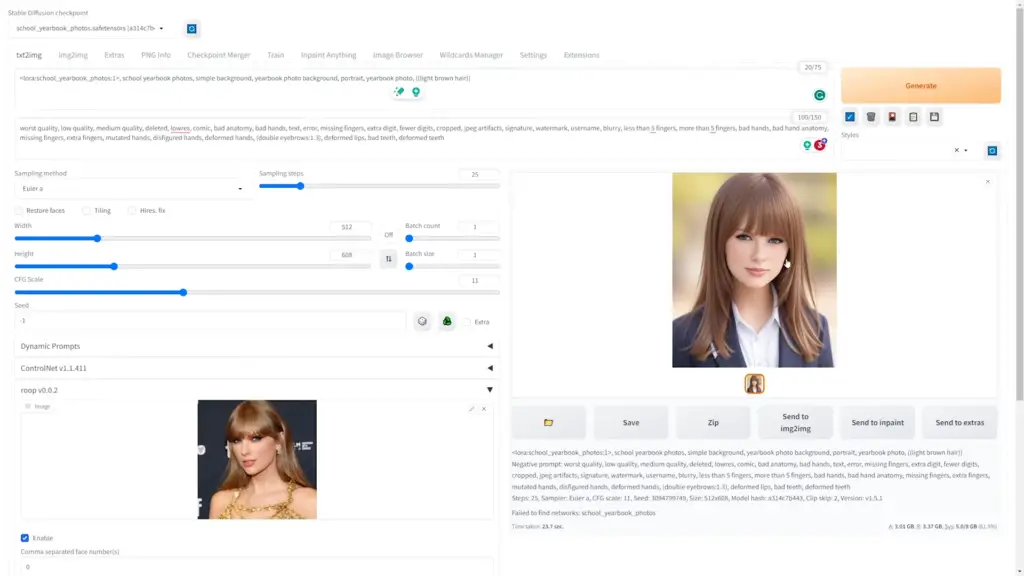
3. Taylor Swift
- Customize the prompt to match Taylor Swift’s style for a convincing yearbook photo.
Wrapping Up
Creating AI yearbook photos using Stable Diffusion and ROOP is not only fun but also incredibly versatile.
Are you planning to make a new yearbook photo for yourself? Share your thoughts and creations in the comments below.
For more exciting AI tools and resources, explore our Blog and read the latest AI Tutorials.