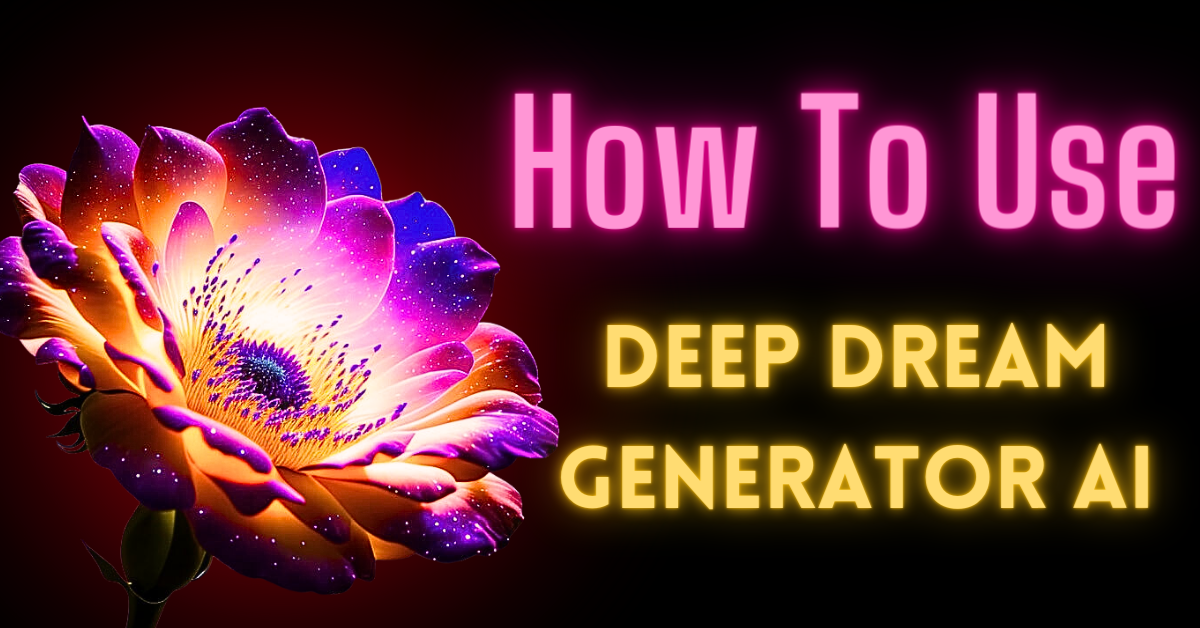
In this guide, we’ll walk you through the process of using the Deep Dream Generator AI to create stunning, surreal images from text prompts. You can easily use the Deep Dream Generator AI tool to create realistic images with just a single click. This step-by-step tutorial will help you get started.
So, let’s jump right in!
How to use Deep Dream Generator AI: Step By Step Guide
1. Create an Account
The first step in using the Deep Dream Generator AI is to create an account.

Once you’ve logged in, you’ll be greeted with your current “compute energy” number. Upon successful signup, you’ll receive 100 points as a trial.
2. Click on “Generate“.
To start creating your dream image, click on the “Generate” button. This will take you to the main interface.

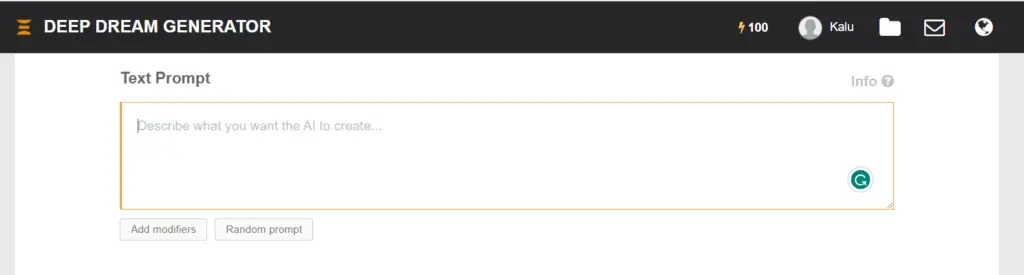
3. Enter Your Text Prompt
In the text prompt box, you’ll describe the image you want to create. For this example, we’ll use the prompt: “Beautiful blonde with hazel eyes and steampunk Warrior’s cyborg in front of the castle with alien mechanism fantasy Sky fire realism.”
4. Select a Base Image (Optional)
You have the option to choose a base image for your creation. You can either use one of the provided images or upload your own. In this example, we’ll stick with one of the preloaded options.
5. Choose a Model
Next, you’ll select a model for your image. There are various models to choose from, each with its unique style.
6. Set the Aspect Ratio
Decide whether you want your image to be square, landscape, or portrait. For this tutorial, we’ll choose landscape.
7. Adjust Image Quality
You can fine-tune the image quality to your liking. You can also make facial features more prominent if desired. Keep in mind that higher quality and larger images may require a subscription.
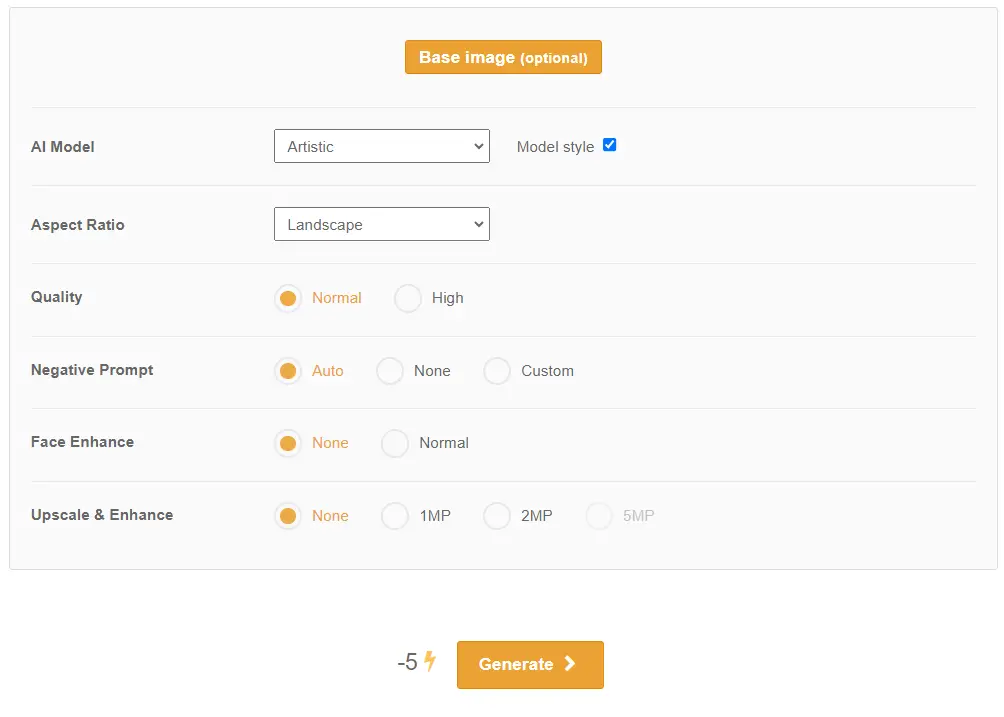
8. Generate Your Image
With all your preferences set, it’s time to click the “Generate” button and The AI will start creating your dream image based on your text prompt and selected options.
Experiment with Different Styles
Sometimes, your initial creation might not turn out exactly as expected. Don’t worry; you can always make adjustments.
Experiment with Text Prompt
If you’re not satisfied with the first result, you can experiment with your text prompt. Modify it to guide the AI in a different direction.
Try the “Evolve” Feature
If you like the base image but want to make further changes, you can click on “Evolve.” Here, you can adjust effect strength and experiment with different settings to refine your image.
Explore Image Upscaling
If you want to increase the resolution of your image, you can explore the upscaling options in the “Document” menu. This allows you to create larger and more detailed images.
Fine-Tuning Your Creation
Once you’re satisfied with your dream image, it’s time to fine-tune and enhance it further.
1. Customizing Image Layout
You can customize the layout and size of your image. For example, you can create a high-definition video size layout if needed.
2. Refine Your Image
To make your image seamless and visually appealing, you may need to refine it.
3. Save Your Creation
Once you’re completely happy with your image, save it! You can download your image and share it with others or use it for various creative purposes.
Conclusion
The Deep Dream Generator AI creates stunning and imaginative images from text prompts. Remember experimentation is key, and each creation is a unique journey.
Latest AI Tutorials: