Creating drone-like shots or videos isn’t an easy task, it requires hours of video editing and shooting.
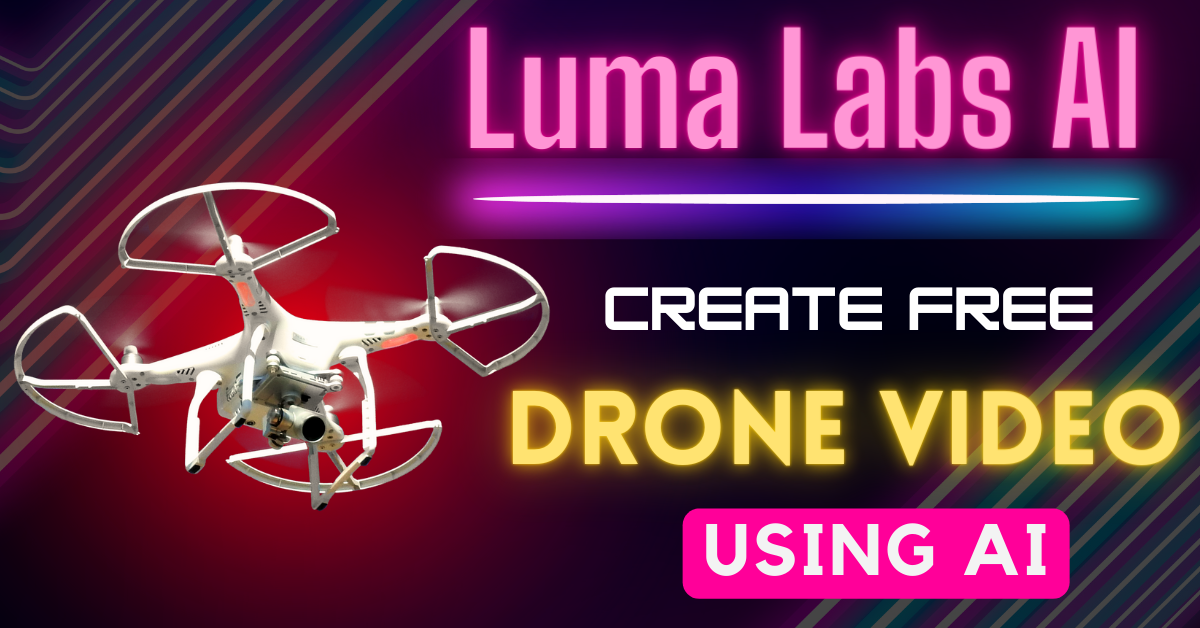
Typically, you’d need a drone camera to achieve these stunning effects. However, what if I told you that you can create 3D videos with drone-like effects without the need for an actual drone camera, and it’s absolutely free?
You don’t have to be a video editing expert or invest in a costly drone camera. You only need a smartphone and Luma Labs AI.
Today I am here to save you time and money. In this step-by-step guide, we’ll take you through the process of using Luma Labs AI to effortlessly create free 3D video drone effects.
No more complex editing or expensive drone camera is required – just a straightforward and effective tutorial that’s accessible to everyone.
So, let’s dive right in!
What is Luma Labs AI?
Luma Labs AI is a user-friendly online platform that empowers users to enhance their videos with 3D effects, making their content more engaging. With its simple tools and features, Luma Labs AI makes it accessible for anyone to transform ordinary videos into stunning 3D videos.

How to use Luma Labs AI Step-by-step guide
Step 1: Capture Your Footage
Creating a captivating 3D video drone effect begins with capturing the right footage. Here’s how to do it:
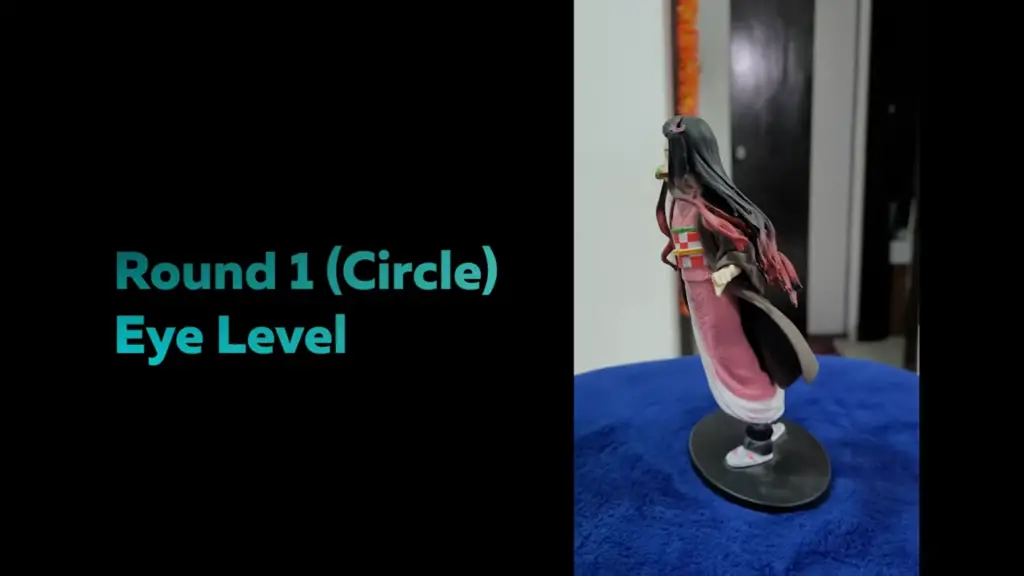
1.1 Grab Your Phone and Start Recording
Begin by taking your smartphone and hitting the record button. Make sure your camera is at eye level with the object you want to capture. This initial shot will serve as the foundation for your 3D render.
1.2 The Top Angle Shot
For the second round of recording, shift your perspective. Hold your phone from a top angle and carefully make another circle around your subject. Ensure there is minimal motion blur in this shot.

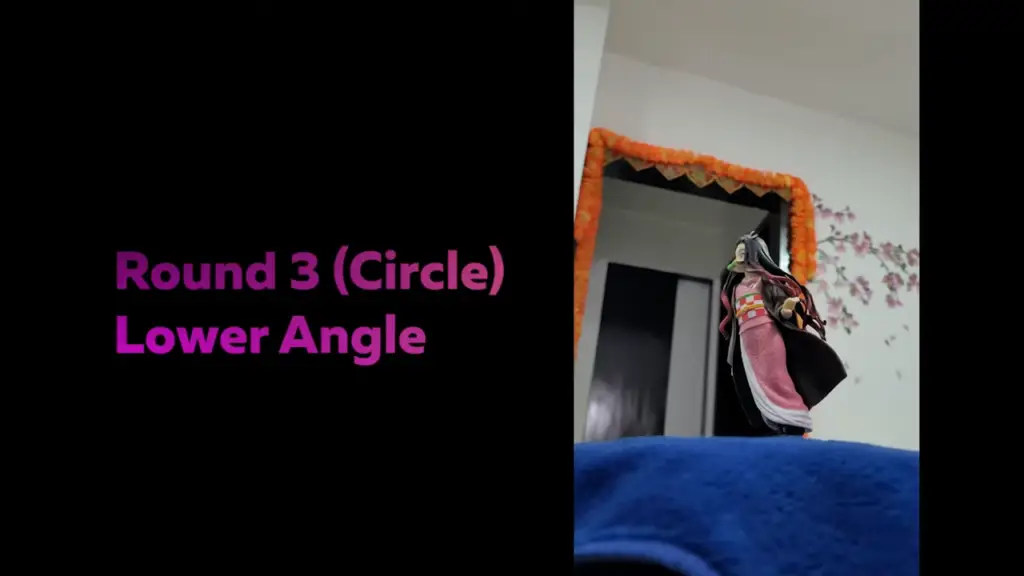
1.3 The Lower Angle Shot
In round three, it’s time to go for a lower angle. Capture another circle, this time from the bottom perspective. This approach ensures maximum coverage for your 3D render, encompassing the top, bottom, and middle sides of your subject.
With these three rounds of footage, you’ve laid the groundwork for your 3D masterpiece.
Step 2: Upload Your Footage
Now that you have your footage ready, it’s time to upload it to Luma Labs AI. Here’s a straightforward guide to getting it done:
2.1 Visit Luma Labs AI
Open your web browser and head to Luma Labs AI. You can also use the iOS app if you prefer, but for this tutorial, we’ll stick to the web version.
2.2 Sign In with Google
Once you’re on the Luma Labs AI website, sign in with your Google account. This will give you access to the platform’s powerful tools.

2.3 Create a Project
Click on the “Create” button to start a new project. You can easily add your footage by dragging and dropping it into the editor. Give your project a title and set the camera type to “normal” with privacy set to “private.”
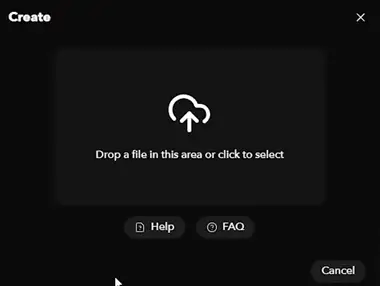
2.4 Upload Your Footage
Select your previously recorded footage and upload it. The upload time may vary depending on your network speed, so be patient.
Your footage is now securely uploaded to Luma Labs AI, and you’re ready to move on to the next step.
Step 3: Animate Your Video
Now that your footage is in the system, it’s time to bring it to life with animation. Follow these simple steps to get started:
3.1 Access the Editing Tools
Click on the camera icon to access the video editor. Next to it, you’ll find a diamond-shaped button for background settings. Luma Labs AI offers built-in animations, but for this tutorial, we’ll focus on creating a custom animation.
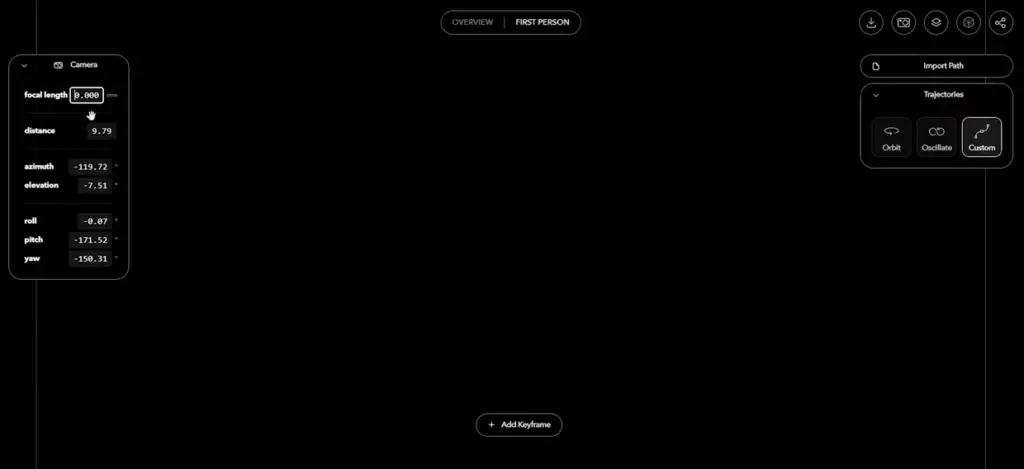
3.2 Customize Your Animation
In the custom animation settings, you can adjust various parameters to suit your creative vision. Change the focal length, select your starting frame for zooming in and out, and modify the orientation by clicking and dragging.
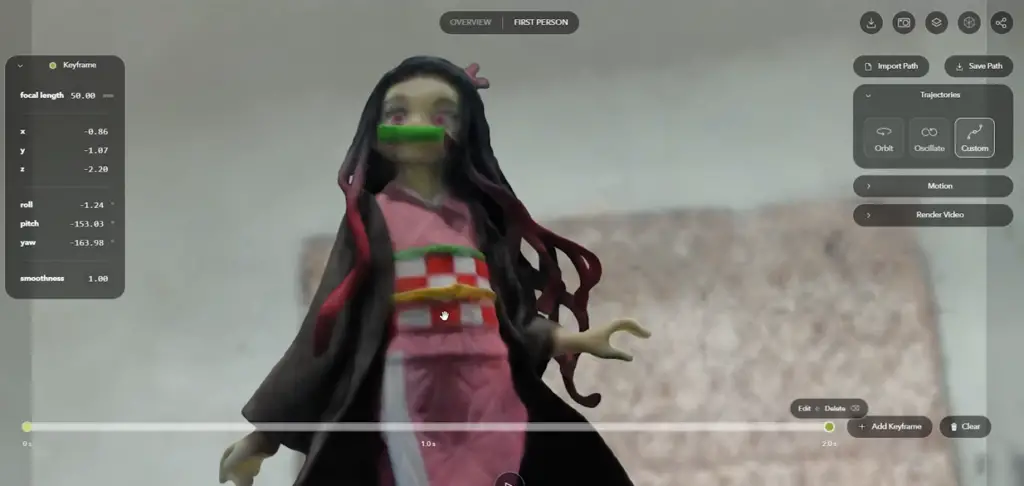
3.3 Add Keyframes
To create your animation, select your first frame, add a keyframe, and then move to your desired endpoint. Add a second keyframe to complete your animation sequence.
You have the freedom to zoom in, zoom out, and adjust the orientation as you see fit.
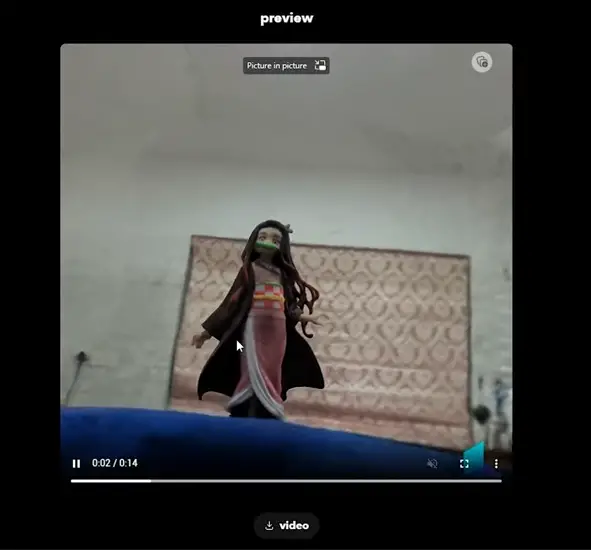
3.4 Preview Your Animation
Take a moment to preview your animation to ensure it meets your expectations. Luma Labs AI provides you with creative freedom, so you can fine-tune your animation until it’s just right.
Step 4: Render Your 3D Video
With your animation perfected, it’s time to render your 3D video. Here’s how to do it:
4.1 Select the Output Format
Click on the “Render video” button and choose the format in which you want to render your video. Luma Labs AI offers flexibility in this regard, allowing you to choose the format that suits your needs.
4.2 Add a Background
Before rendering, make sure to add a background to fill in any black areas in your video. This ensures a polished final product.
4.3 Start the Rendering Process
With everything in place, initiate the rendering process. Sit back and wait for a few minutes as Luma Labs AI works its magic.
4.4 Download Your Masterpiece
Once the rendering is complete, your 3D video masterpiece is ready for download. Click on the rendered video and download it to your device.
Step 5: Luma Labs AI video download
Congratulations! You’ve successfully transformed your ordinary video into a captivating 3D masterpiece. Take a moment to admire your work and share it with your audience.
Luma Labs AI Features:
| Feature | Description |
|---|---|
| 3D Video Rendering | Transform ordinary videos into 3D masterpieces with ease. |
| Simple User Interface | User-friendly platform designed for accessibility, suitable for all skill levels. |
| Customizable Animations | Fine-tune animations to suit your creative vision, including zoom and orientation. |
| Multiple Output Formats | Choose from various output formats to meet your specific needs. |
| Background Filling | Automatically fill black areas in your video for a polished final product. |
| Free to Use | Access powerful video enhancement tools without any cost. |
Conclusion
In just a few simple steps, you’ve learned how to create free 3D video drone effects using Luma Labs AI. You don’t need for complicated terminology or advanced technology – this tutorial is designed to be accessible to everyone. Start capturing, uploading, animating, and rendering your videos today, and watch as your content takes on a whole new dimension.
If you found this tutorial helpful, please show your support by reading our Latest AI Tutorials: