Welcome back to another tutorial on stable diffusion, where I’m here to walk you through DreamBooth Stable Diffusion. The reason I’m diving into this tutorial, despite its existence elsewhere, is because, let’s be honest, those other guides are overly complicated and well, outdated.
So, let’s simplify things and get you started on training your own models with DreamBooth. It’s easier than you might think.
What is Dreambooth Stable Diffusion?
DreamBooth is an innovative technique used in AI, specifically within Stable Diffusion models, to personalize and fine-tune image or text-to-image generation. It uses just a small set of images (usually 3-5), DreamBooth allows the model to generate highly personalized, custom images.
This process involves injecting customized information into Stable Diffusion models, aiding in creating unique outputs based on the provided input images.
Features:
Customization with Few Images: DreamBooth stands out by enabling model personalization with minimal input. It’s used to fine-tune AI models like Stable Diffusion, allowing for customized outputs.
Image Generation: By combining DreamBooth with Stable Diffusion models, users can generate images based on the characteristics or features present in the provided images.
Ease of Use: The technique simplifies the process of personalizing AI models for image generation, making it accessible to a broader audience without the need for extensive training data or technical expertise.
AI Advancements: DreamBooth represents a step forward in AI technology, facilitating the creation of diverse, customized visual content.
How to use DreamBooth Stable Diffusion?
Pre-requisites:
Here’s what you need:
DreamBooth installed: If you haven’t installed it yet, make sure to do so.
A dataset of images: It could be anything, from faces like mine, someone else’s face, a can, or even a bunch of paintings. For this tutorial, I’ll use a dataset of 512 by 512 resolution images of my face.
Creating Your Model
Let’s dive right into DreamBooth:
Open DreamBooth.
Create Model: Start by naming your model. I’ll call it “Tom Tutorial” for obvious reasons. Set the dimensions to 512 by 512.
Source Checkpoint: Choose an existing model to build upon. I’m picking version 1.5.
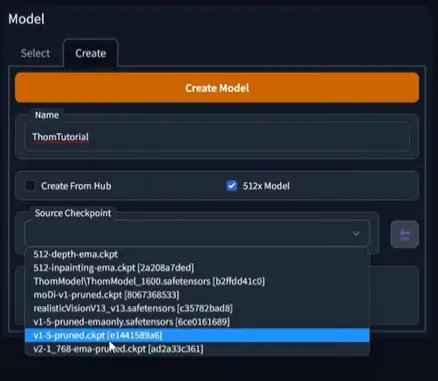
Hit Create Model and let it process. This sets the stage for your custom model.
Configuration Settings
Alright, now let’s configure the settings:
- Epochs: These are training cycles. I’ll set it to 150 epochs per image for my eight images.
- Save Frequency: I’m setting this to zero to avoid unnecessary image outputs during training, saving time.
- Adjust other settings as needed. For advanced settings, ensure you select “8-bit atom mix Precision,” “FP16,” and “X-formers.” These are crucial for smooth operations.
- Save your settings once you’re done.
Integrating Your Dataset
Now, let’s integrate your dataset into the model:
Navigate to your dataset folder.
Copy the address and paste it into the designated space in DreamBooth.

Create an instance prompt, describing your images. For instance, I’ll use “Photo of Tom Tutorial.”
Training Your Model
Once settings are saved, it’s time to start training:
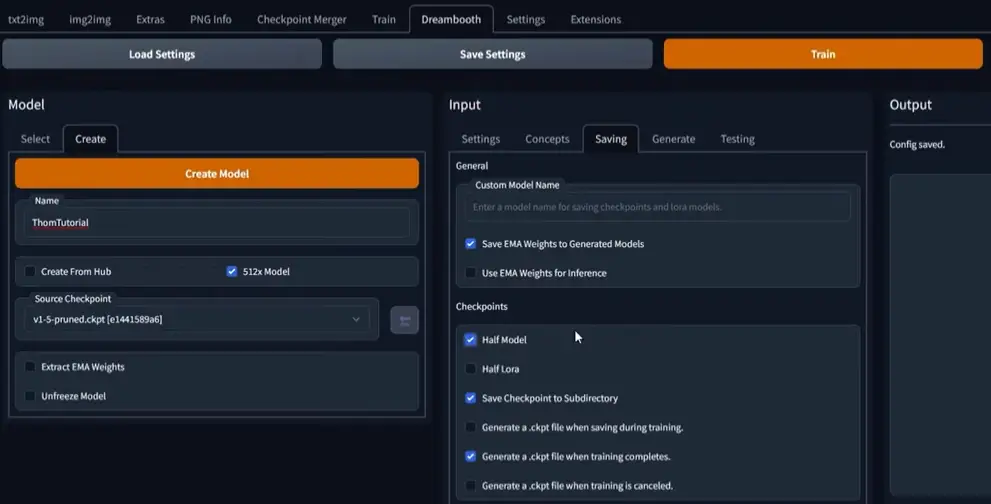
- You can enable half model if you want a lighter checkpoint with similar details.
- Hit Train and let it run through the iterations based on your settings.
Testing Your Model
After the training is complete, let’s verify:
- Check the Stable Diffusion folder in DreamBooth for your model.
- Verify the generated files within the model folder.
Putting Your Model to Test
Let’s put our model to the test:
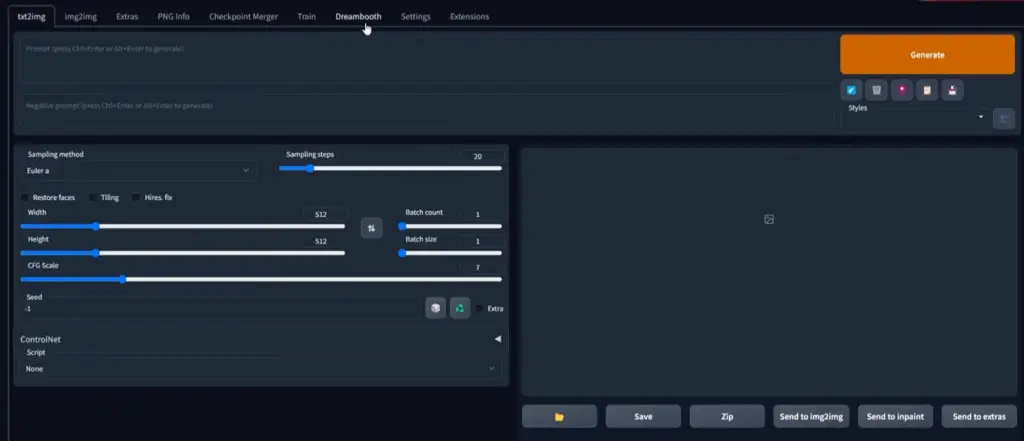
- Head to the Text to Image section.
- Locate your trained model and use the designated token (in my case, “thxb”).
- Observe the generated images, ensuring they align with your training set.
Exploring the Possibilities
You’re not limited to just faces:
- You can train different objects or styles using the same process.
- Remember to append your new data to the existing checkpoint, using your chosen token.
Conclusion
I hope this simplified guide was helpful. If you’re keen on supporting my blog, check out the the other latest posts for access to additional tutorials.