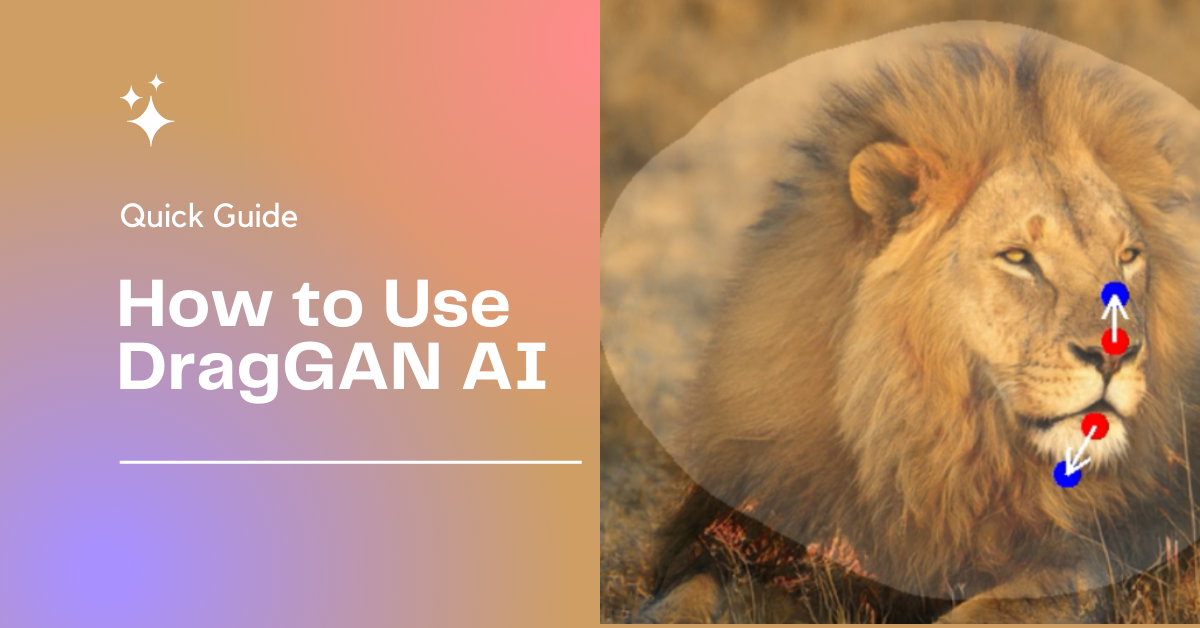
DragGAN AI is an incredible tool that allows users to interactively manipulate images using point-based editing.
If you’re eager to try out the demo version of DragGAN AI on HuggingFace, this article will guide you through the process step by step.
How to use the demo version of Draggan AI?
- Go to the official Github page of DragGAN AI by visiting the following link: https://github.com/XingangPan/DragGAN
- Once you’re on the GitHub page, scroll down until you find the section titled “Web Demos.” In this section, locate and click on the DragGAN icon representing the Hugging Face demo.
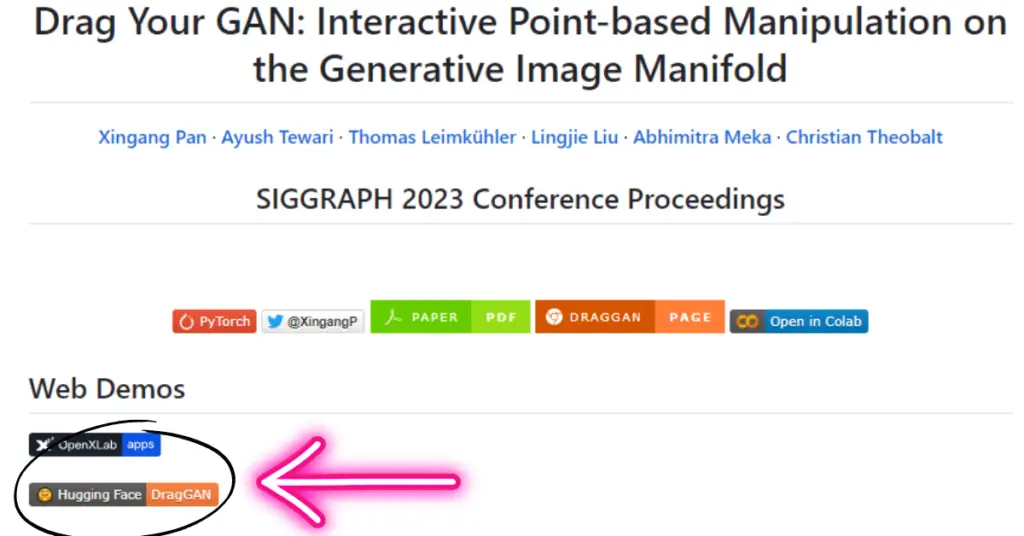
- After clicking on the Hugging Face DragGAN icon, you’ll be redirected to the official DragGAN AI demo page.
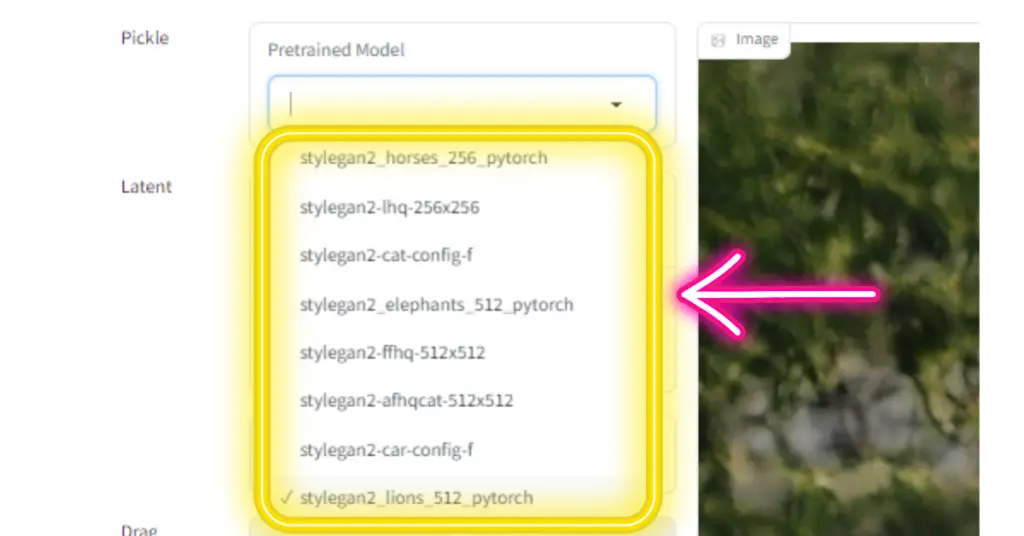
- On the demo page, you’ll see the interface divided into two sections. The left section contains the settings, while the right section displays the image.

- To get started, select your desired pre-trained model from the available options in the settings section. This choice determines the behavior and characteristics of the DragGAN AI tool.
- Next, adjust the “Seed” value to generate an initial image. The seed value influences the starting point of the image generation process.
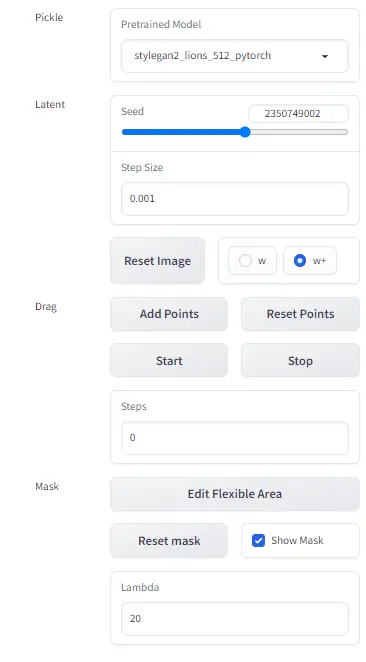
- Once you’ve set the seed value, you can proceed to add points to the image. These points act as reference markers for the DragGAN AI tool to understand the specific changes you want to make.

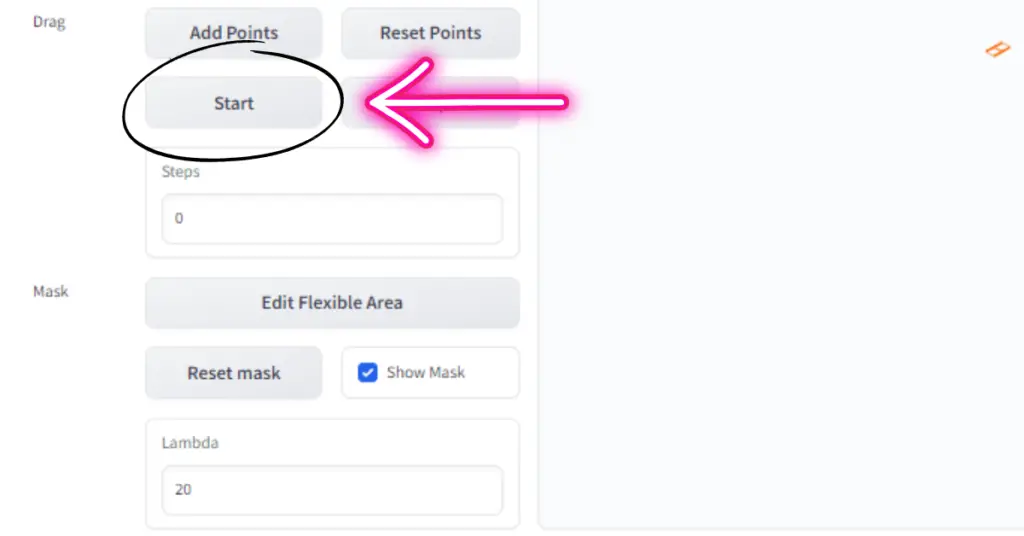
- With the points added, click on the “Start” button to initiate the DragGAN AI model.
- As the model runs, you’ll witness the red point approaching the blue point and observe the image changing accordingly. Enjoy experimenting and exploring the interactive image manipulation capabilities of DragGAN AI.
You can continue adding or modifying points to further refine the image.
Exploring the DragGAN Settings
Before you can start editing images, it’s essential to understand the various settings and options available in DragGAN. Let’s take a closer look at each of these settings:
1. Pre-trained Model
In the settings section, you’ll notice a dropdown menu labeled “Pretrained Model.” This option allows you to select different pre-trained models that define the behavior and characteristics of the DragGAN AI tool.
2. Latent: Seed Value
The “Seed Value” setting determines the initial image generated by DragGAN AI. Adjusting the seed value can result in different starting points for image manipulation.
3. Reset Image Button
If you wish to start over or reset the image to its original state, simply click on the “Reset Image” button. This will revert any modifications made and restore the image to its initial form.
4. Drag: Add Point Button
The “Add Point” button enables you to add points directly to the image. These points act as reference markers for the DragGAN AI tool to understand your intended changes.
5. Reset Points Button
To remove all the points added to the image and start fresh, click on the “Reset Points” button. This allows you to redefine the areas of the image you want to manipulate.
6. Start and Stop Buttons
Clicking the “Start” button initiates the DragGAN AI model, which begins processing and adjusting the image based on the specified points and settings. Conversely, the “Stop” button halts the model’s execution.
7. Mask: Reset Mask Button
The “Reset Mask” button removes any defined masks on the image. Masks are used to constrain the editing effects to specific areas, allowing you to retain certain parts of the image unchanged.
8. Show Mask Button
By clicking the “Show Mask” button, you can visualize the areas that are masked and unaffected by the DragGAN AI editing.
9. Lambda: Lambda Value
The “Lambda Value” setting controls the strength of the editing effects applied to the image. Adjusting this value can produce different levels of intensity in the modifications made.
Advanced Settings:
In addition to the primary settings mentioned above, DragGAN AI also provides advanced settings for more precise customization. These settings include:
Change Step Size
This setting allows you to adjust the learning rate in the drag optimization process. By changing the step size, you can control how quickly or slowly the model adapts to the specified changes.
Select w or w+
You have the option to select either “w” or “w+” as the latent space to optimize. Optimizing in the “w” space can have a significant impact on the image, while optimizing in the “w+” space may take longer but typically yields better results.
Edit Flexible Area
The “Edit Flexible Area” feature enables you to create a mask that restricts changes to specific regions of the image. By defining a mask, you can ensure that certain areas remain unchanged during the editing process.
Using these advanced settings, you can fine-tune your image editing experience with DragGAN AI.
Now that you’re familiar with the DragGAN settings and advanced options, you’re ready to dive into the exciting world of interactive image manipulation. Have fun exploring the possibilities and let your creativity soar!
Read the Latest Tutorial about DragGAN AI:
Frequently Asked Questions (FAQs):
1. Can I use DragGAN AI for commercial purposes?
DragGAN AI is currently available as a demo version for exploration and research purposes. For commercial usage, it is advisable to contact the developers or refer to any licensing requirements associated with the tool.
2. Are there any limitations to the size of the images that DragGAN AI can handle?
The performance of DragGAN AI may vary depending on the size and complexity of the images. It is recommended to start with smaller images and gradually work your way up to larger ones.
3. Can I undo or revert the changes made with DragGAN AI?
Unfortunately, DragGAN AI does not provide an undo or history feature. To revert the changes, you can either reset the image or reload the page to start fresh.