While performing video editing, don’t make these stupid mistakes and waste your time.
And what does it mean?
Are you a YouTuber, freelancer, video editor, reel maker, podcaster, or whatever your role is? This AI tool will completely transform your professional life.
Video editing is not a simple task; it takes many hours to edit and remove awkward silences and voices from the video.
If you’re editing podcasts, you’ll experience the pain of editing hundreds of instances of silent scenes, adding subtitles, and changing the background, all of which consume your valuable time.
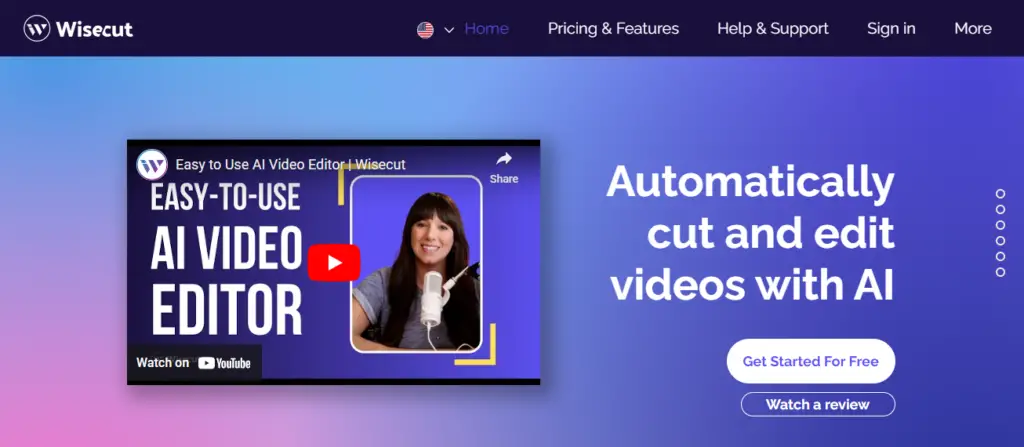
But what if I told you that you can accomplish these tasks within seconds using the free AI tool? The AI tool is Wisecut AI video editor. This AI tool will handle everything for you – automatically cutting out silences, adding subtitles, translating, and changing the background.
These are all tasks you need to perform while editing a video. In this comprehensive guide, we will dive deep into the world of Wisecut AI, a powerful video editing tool that will revolutionize the way you create content.
Wisecut AI best video editing software:
You’re overflowing with creative ideas and excited to share them through videos. But the thought of editing makes you feel down.
No worries, because Wisecut AI is here to rescue you! I’m excited to introduce you to a revolutionary tool that will make video editing a cakewalk.
What is Wisecut AI?
Wisecut AI is an innovative video editing tool that automates the process of editing videos. It uses artificial intelligence to cut awkward silences and add subtitles, translations, and suitable background music, while also transforming long videos into short, impactful clips.
Features of Wisecut AI:
Let’s discuss its amazing features that will solve all your editing problems.
With the power of artificial intelligence, Wisecut automatically detects and trims these pauses, ensuring your content is engaging from start to finish.
But that’s not all! Are you eyeing the trend of shorter video formats like YouTube shorts, TikTok, and Instagram reels?
Wisecut AI effortlessly converts longer videos into bite-sized clips, tailor-made for these platforms.
Wisecut AI has you covered by adding accurate subtitles and even suggesting suitable background music that complements your video’s theme.
1. Audience Growth with Short Videos
Wisecut AI offers a dynamic way to transform lengthy talks into impactful clips. Seamlessly infuse music, subtitles, and auto-reframing to create attention-grabbing short videos.
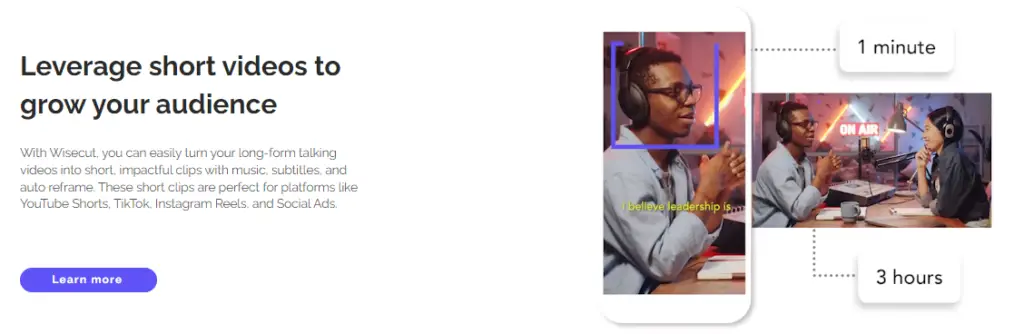
These versatile clips find a perfect home on YouTube Shorts, TikTok, Instagram Reels, and Social Ads, expanding your audience reach.
2. Auto Cut Silences
Wisecut’s Auto Cut Silences function identifies and eliminates these interruptions automatically.
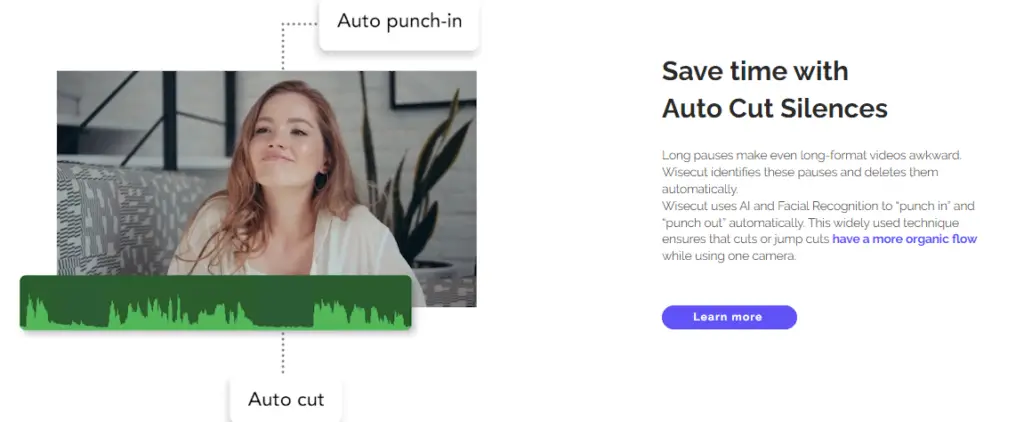
The power of AI and Facial Recognition comes into play, seamlessly orchestrating smooth transitions and jump cuts, ensuring a natural flow even when using a single camera setup.
3. Auto Subtitles and Translations
Wisecut AI Video Editor understands the value of silent viewing in public spaces. With 69% of viewers watching videos without sound, Wisecut brings forth auto-generated subtitles.
Enhance viewer engagement by swiftly editing these subtitles using the intuitive Wisecut AI Storyboard tool.
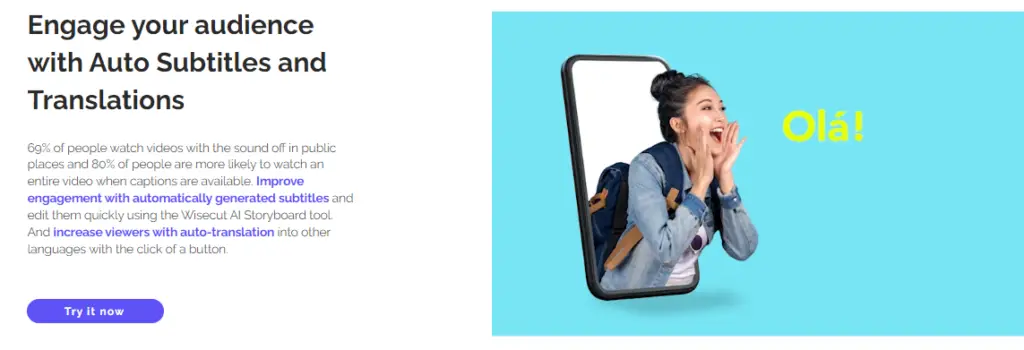
Additionally, expand your viewership by effortlessly translating your content into multiple languages at the click of a button.
4. Smart Background Music Integration
Background music breathes life into videos, but finding the right track and syncing it can be a chore.
Enter Wisecut’s Smart Background Music feature. Effortlessly integrated, Wisecut selects the ideal music to match your video’s ambiance.
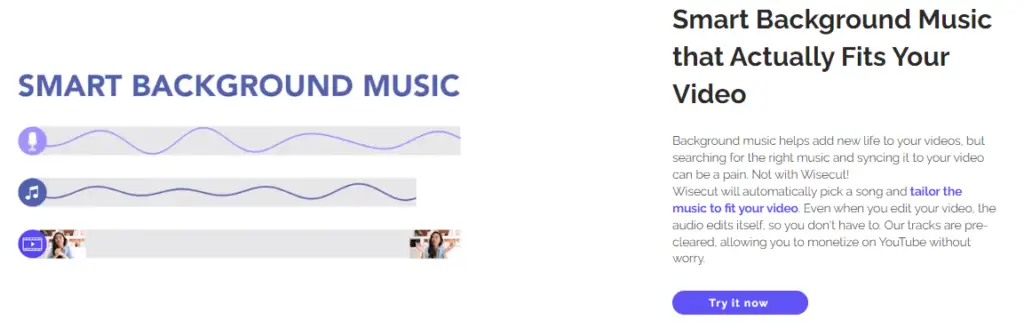
This harmony persists even during video edits, sparing you the manual effort. What’s more, our pre-cleared tracks empower you to monetize your content on platforms like YouTube without a hitch.
5. Automatic Audio Ducking
The automatic audio ducking feature ensures a seamless audio experience for your video content.
When you’re speaking, the background music is intelligently lowered, allowing your voice to take center stage.
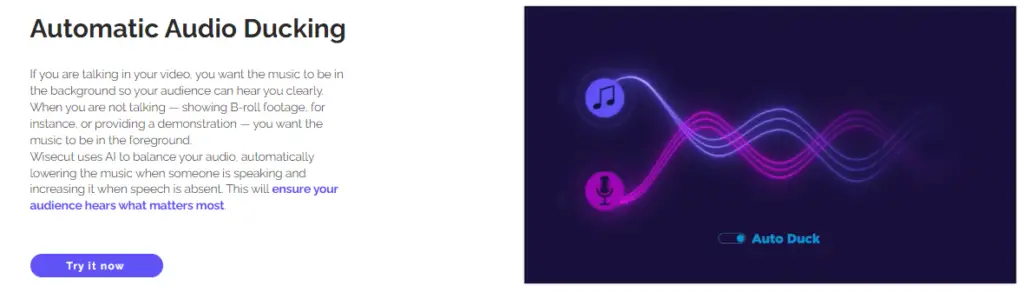
Conversely, during moments of silence or when showcasing supplementary visuals, the music dynamically rises, maintaining engagement.
How to use the Wisecut AI video editor App?
Now, let’s roll up our sleeves and get into how to use Wisecut AI. Follow these simple steps to turn your raw video into a polished masterpiece:
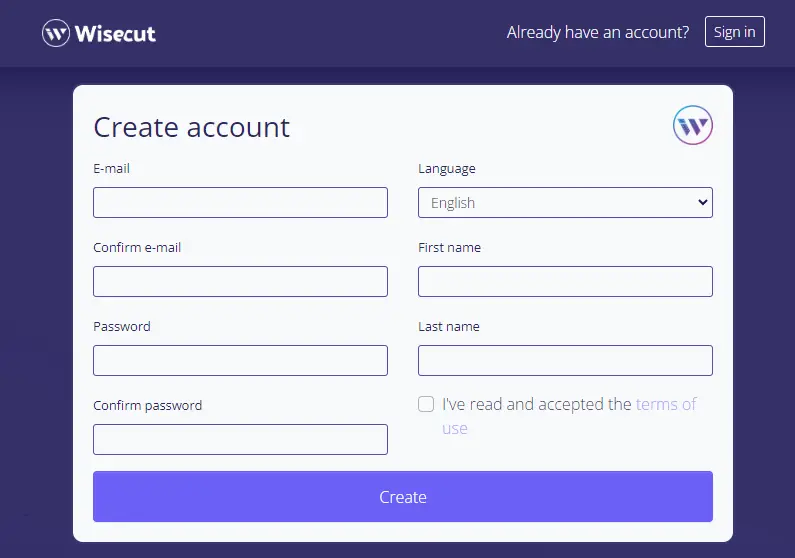
1. Visit Wisecut AI and create a free account:
Visit the following link: www.wisecut.video and sign up for a free account that allows you to create 30-minute video editing per month.
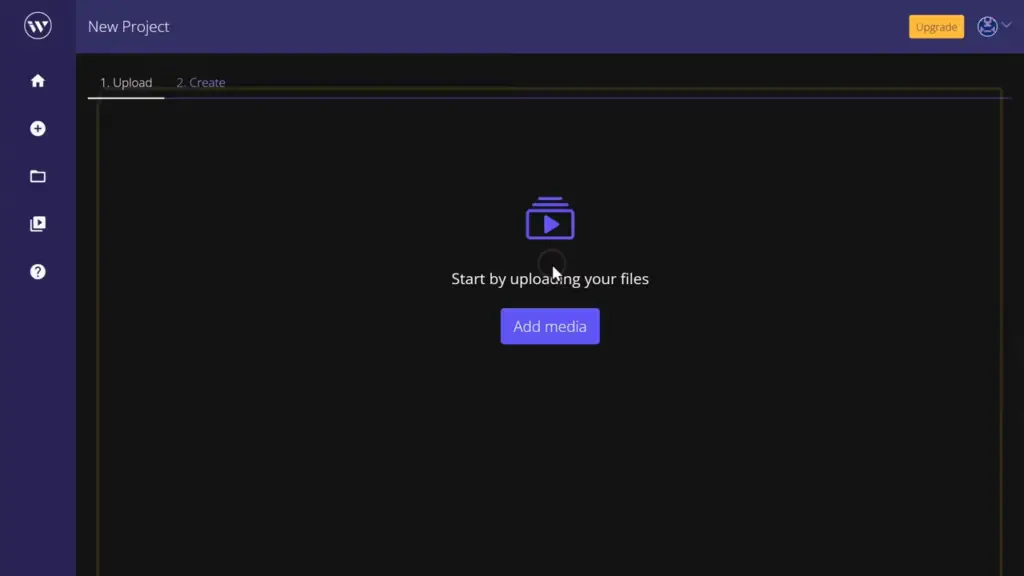
2. Starting a New Project:
Click the “New Project” button and upload your video files.
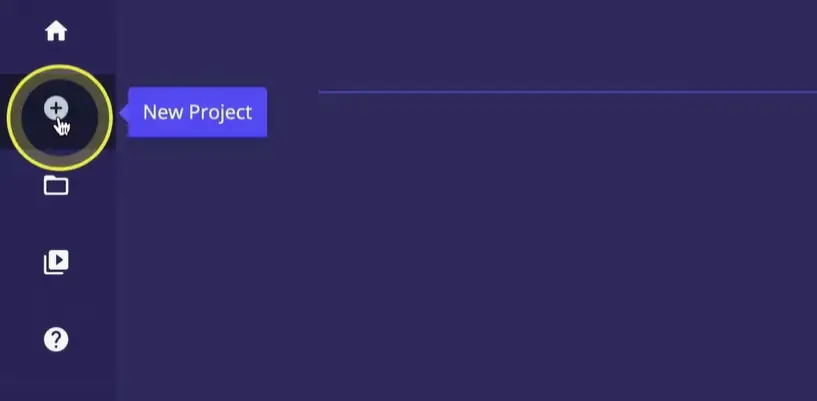
Wisecut’s user-friendly interface makes this a cakewalk.
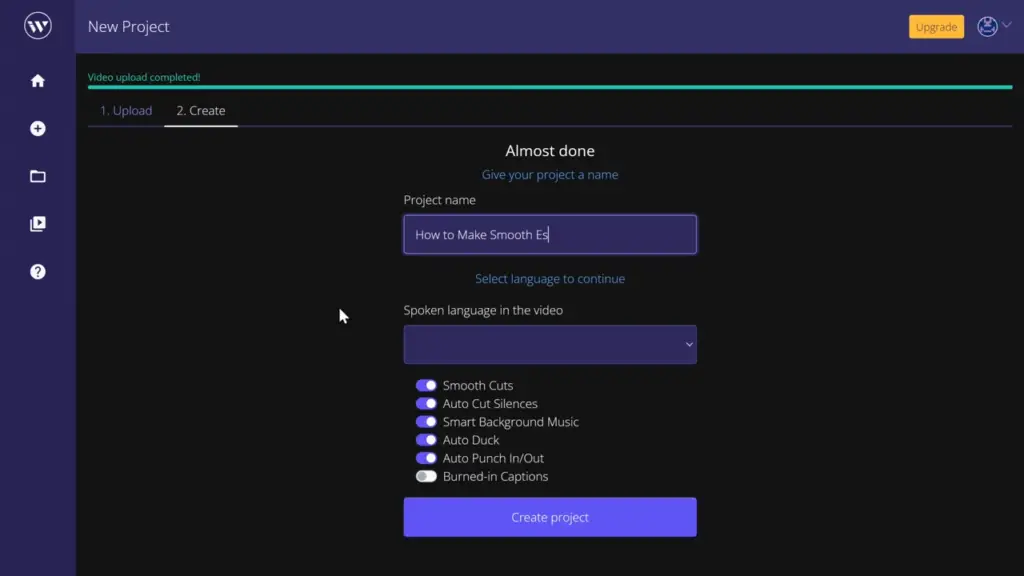
3. Processing Options:
Now create your new project and Choose processing options that suit your content style.
Smooth Cuts for natural flow or auto-cut silences for concise delivery – the choice is yours.
4. Enhancements:
Wisecut offers an array of enhancements, from smart background music to background noise canceling. Tailor these options to your video’s needs.
5. Captions and Subtitles:
Experiment with burn-in captions and auto subtitles. Wisecut’s technology assists in adding and fine-tuning these features.
6. Processing and Waiting:
Let Wisecut work its magic. The processing time varies based on video length and size. Relax and let the AI do its thing.
7. Editing in Storyboard Mode:
Once processed, jump into the storyboard mode. Here, you can fine-tune cuts, adjust captions, and even restore deleted scenes.
8. Translations and Music:
Explore translation options if you’re aiming for a global audience. Wisecut AI also offers background music options, though consider adding music in-platform for optimal control.
9. Wisecut AI video download: Export
When you’re satisfied with your edits, head to the preview and export section. Choose your desired quality and size, then export your polished video.

The Power of Wisecut AI
Witness the transformation Wisecut AI brings to your video editing process. No more grappling with editing software or spending endless hours manually cutting and adjusting.
Wisecut AI empowers you to focus on your creative vision while it handles the technicalities.
How to Edit Videos Using Wisecut AI? (Detailed Guide)
Step 1: Create a New Project
After logging in, click on the “Create New Project” button. This is where you’ll start the video editing process.
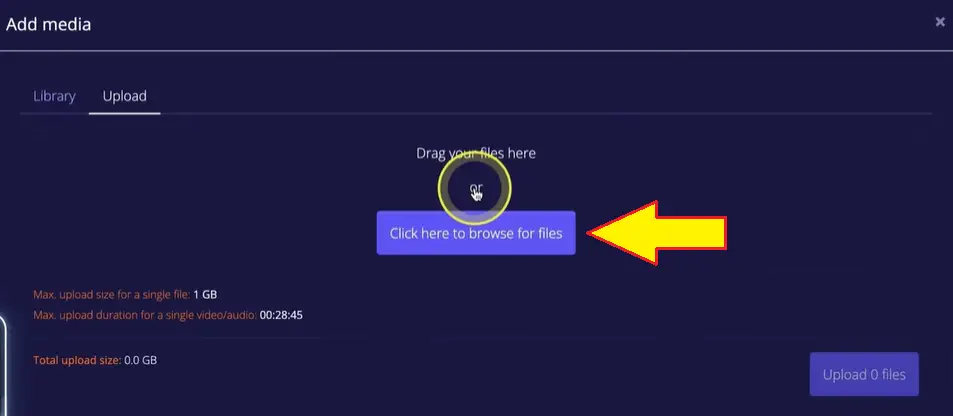
Step 2: Upload Your Raw Footage
Now it’s time to upload your raw video footage. Click on “Add Media” and drag and drop your video files.
Remember that in the free plan, your video files should be under 1 GB and have a duration of under 30 minutes. If your project exceeds these limits, you might need to consider upgrading your plan.
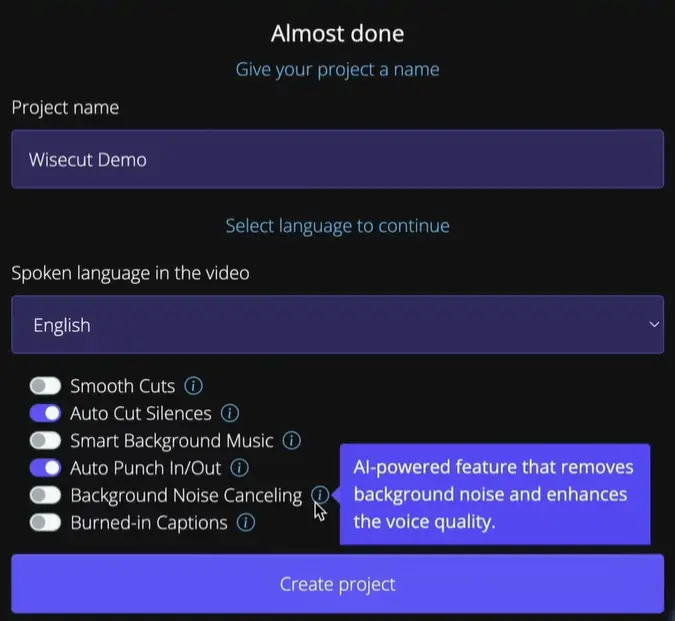
Step 3: Choose Your Editing Preferences
Wise Cut allows you to customize the editing process to your liking. You can enable or disable different editing options according to your preferences:
- Smooth Cuts: Enable this option to reduce the number of cuts in your video for a more natural flow. Disable it if you want to remove all gaps between scenes.
- Pause Removal: This option automatically identifies and removes pauses in your video.
- Add Music: Wise Cut can add suitable background music to your video. It also offers an “Auto Ducking” feature, which adjusts the volume of the music when you’re speaking.
- Auto Punch In and Out: This effect zooms in and out of objects, creating dynamic visual transitions in your video.
- Captions: If you want to include captions in your video, you can enable this option. Keep in mind that the accuracy might vary, but you can edit them later.
Create Project
Once you’ve set your preferences, click on “Create Project” and Wise Cut will start processing your video. It will analyze your footage, remove awkward silences, add subtitles, and music, enhance audio, and perform various other editing tasks automatically.
Fine-Tuning Your Edited Video
Wise Cut’s AI does a fantastic job, but you might want to make some adjustments or fine-tune your video to your specific requirements. Here’s how to do it:
Editing Scenes:
In the “Edit” tab, you can access the storyboard area where your video is broken down into scenes.
Scenes that Wise Cut has removed are shown in the dark. You can restore them if needed.
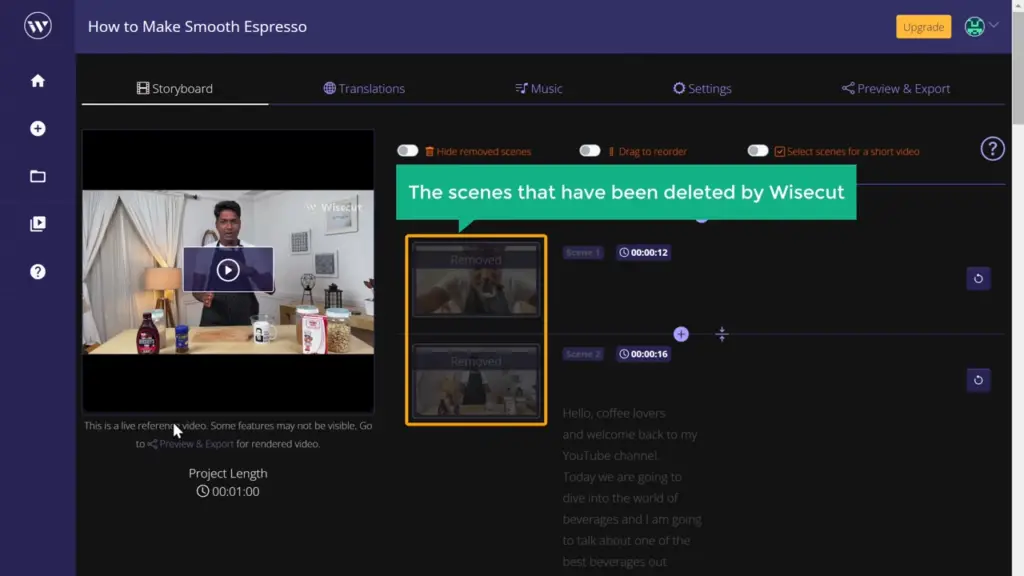
To make adjustments to a scene, click on it, and you can trim it, change the scene volume, adjust music levels, or duplicate it.
Editing Subtitles:
- In the “Edit Subtitles” tab, you can modify the subtitles to ensure accuracy.
Scene Splitting:
- You can split a scene by selecting a specific point within it.
Adding Footage:
- If you want to add additional footage to any scene, click on the “Add Footage” button, upload your files, and insert them into the video.
Customize Overlay:
- You can change the way the video is displayed by clicking on the “Customize Overlay” option. This allows you to adjust overlay position and enable various options.
Add Multi-Language Subtitles
WiseCut Text to Video also offers a translation feature that allows you to translate your video subtitles into different languages.
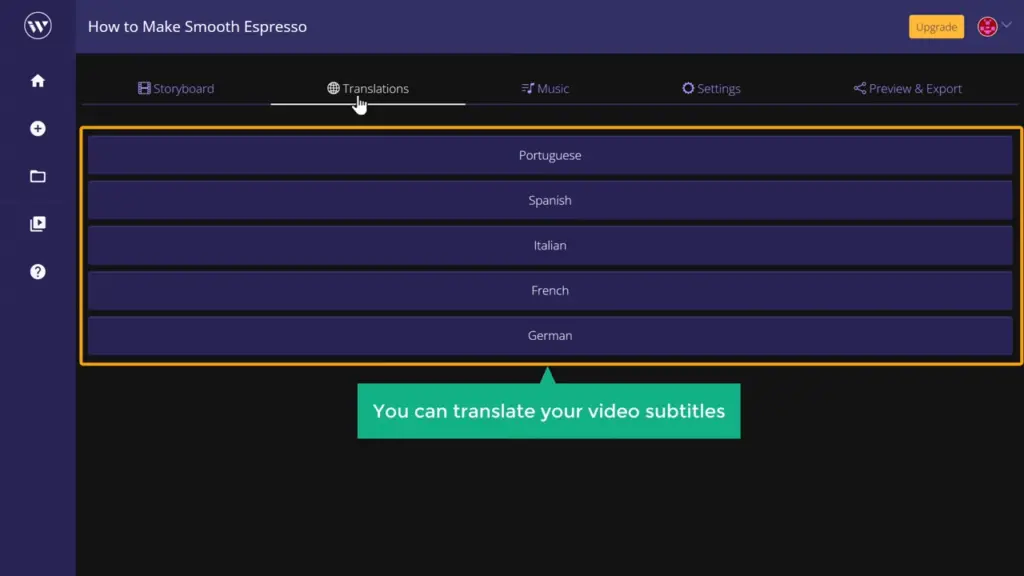
This is a valuable option if you’re targeting a global audience and want to make your content more accessible.
Enhance Your Video with Background Music
You can enhance the mood of your video by adding background music. WiseCut AI provides a library of music tracks that you can choose from.
Select the one that complements your video’s atmosphere, and your video will be even more engaging.
Preview and Export Your Video
Once you’re satisfied with the edits and adjustments, it’s time to see the final result. To do this, you’ll need to render the video. Click on “Render” to preview your video. You can then play it to ensure everything looks as expected.
After previewing your video, it’s time to export it. Click on “Export” and download your video. Please note that in the free plan, WiseCut AI adds a watermark to your video.
If you want to remove it, you can consider upgrading to one of their premium plans, which also offer higher resolutions, longer durations, and larger file sizes.
Wisecut AI Features Highlights:
| Feature | Description |
|---|---|
| Auto Cut Silences | Eliminates awkward pauses and silences from videos automatically, ensuring a smooth flow. |
| Auto Reframe | Converts long-form videos into short, impactful clips with music, subtitles, and suitable framing. |
| Auto Subtitles & Translations | Generates accurate subtitles and offers quick editing options. Translates content into multiple languages. |
| Smart Background Music | Selects appropriate music for videos, syncing and tailoring it seamlessly to the content’s vibe. |
| Automatic Audio Ducking | Wisecut’s AI ensures clear audio by auto adjusting background music volume based on speech presence. |
Wisecut AI Plans and Pricing:
Now that you’ve seen Wisecut in action, you’re probably wondering about its plans and pricing. Wisecut offers a free plan that gives you up to 30 minutes of processing each month. While this plan has some limitations in terms of resolution and watermarking, it’s a great starting point to explore Wisecut’s potential.
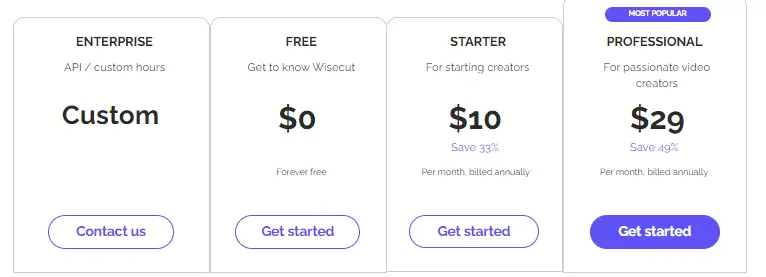
However, if you’re serious about enhancing your content creation game, Wisecut offers starter and professional plans that provide higher resolutions and additional benefits.
Final Conclusion:
In a world where video content rules, Wisecut AI emerges as a true partner for content creators.
With its effortless editing capabilities, automatic silence removal, and enhanced subtitles, Wisecut paves the way for a smoother and more enjoyable content creation journey.
Welcome the future of video editing with Wisecut and watch your creativity flourish.
Latest AI Tutorials: